Time settings:
If you are closed for any day or holiday, you can make use of this tab. It will handle all your opening-closing hours.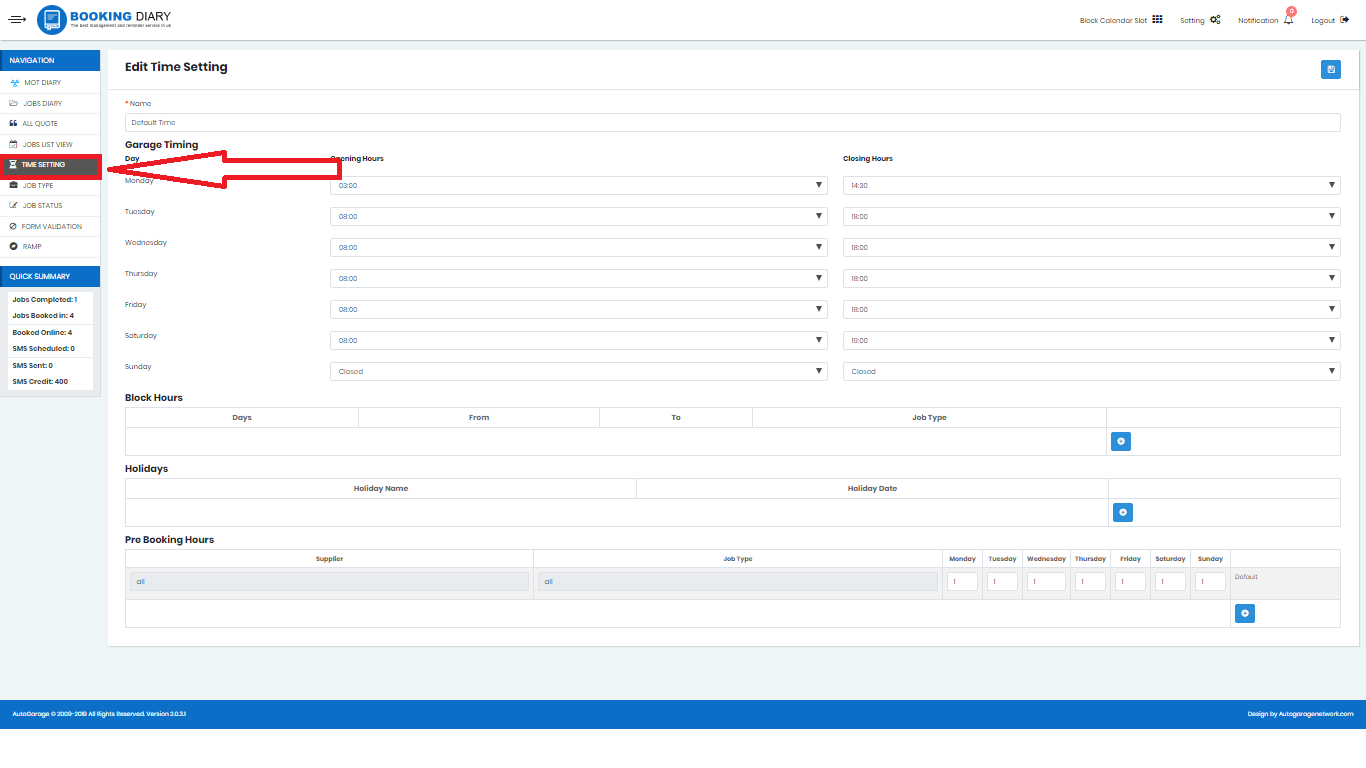
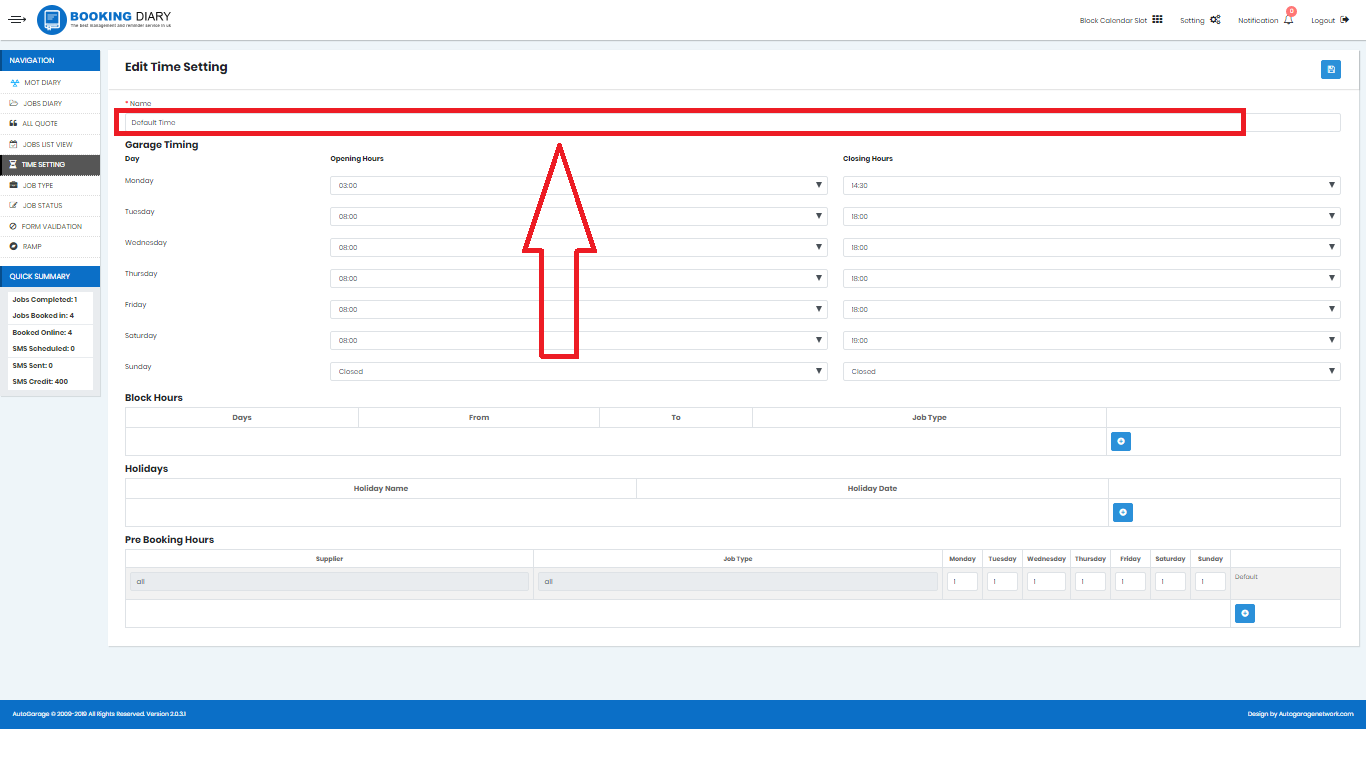
Default Name-
You can change the name here.
Garage timings:-
- You can change the opening and closing hours of your garage and accordingly the time of your appointment bookings for the respective day.
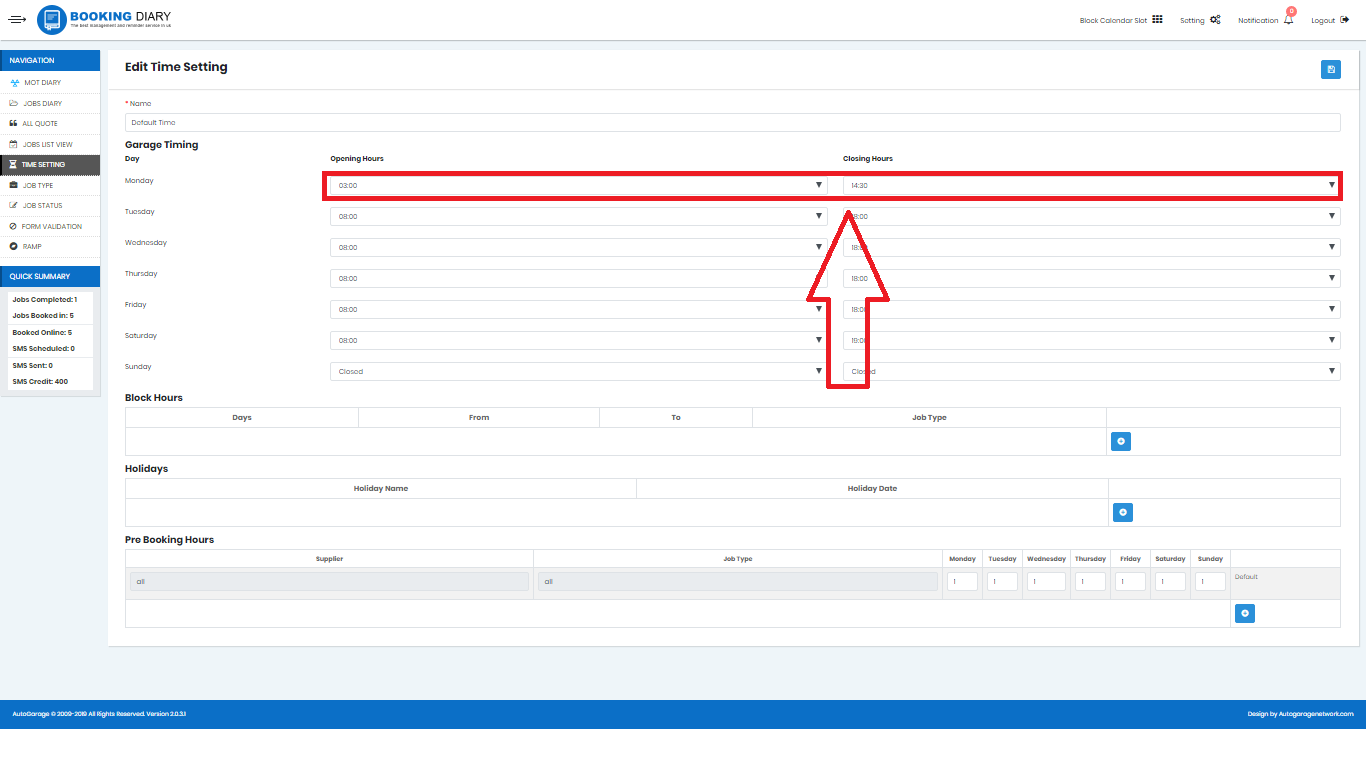
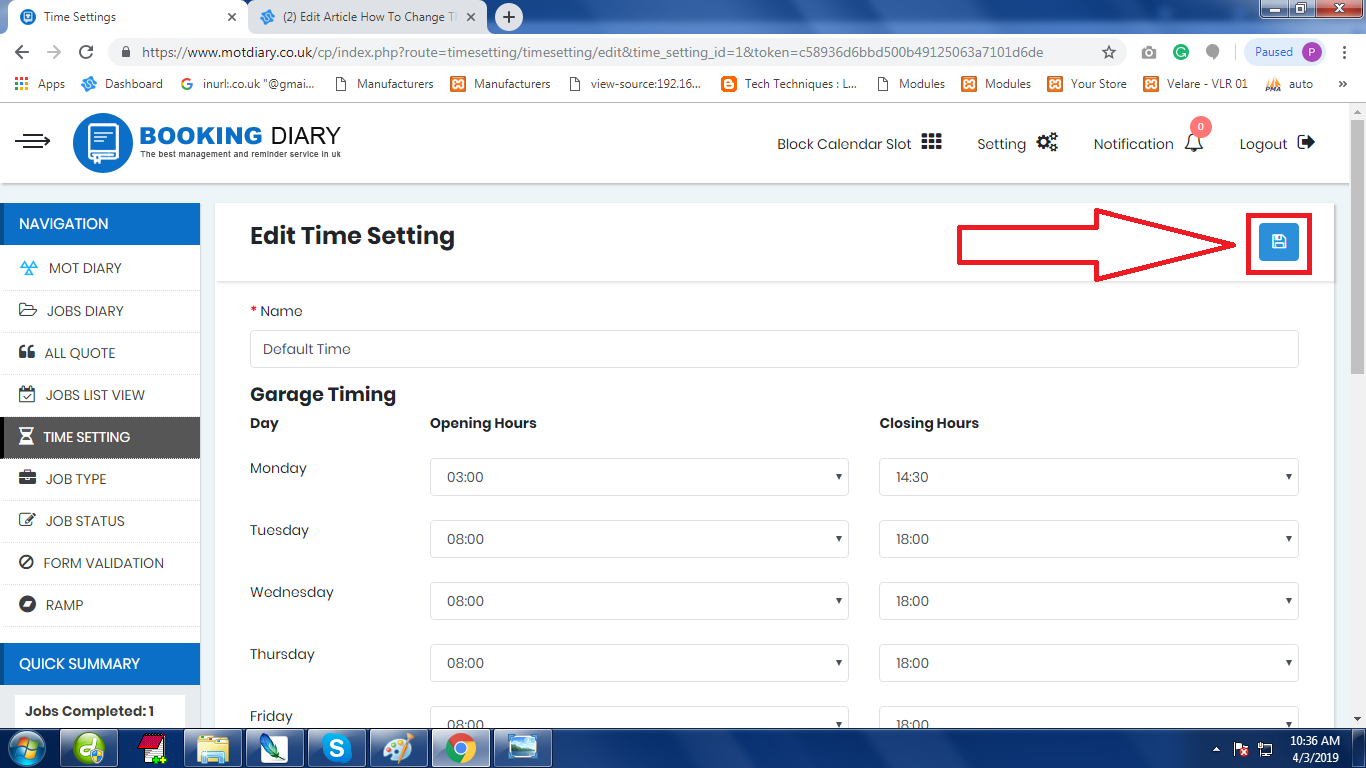
- Then click on the save.
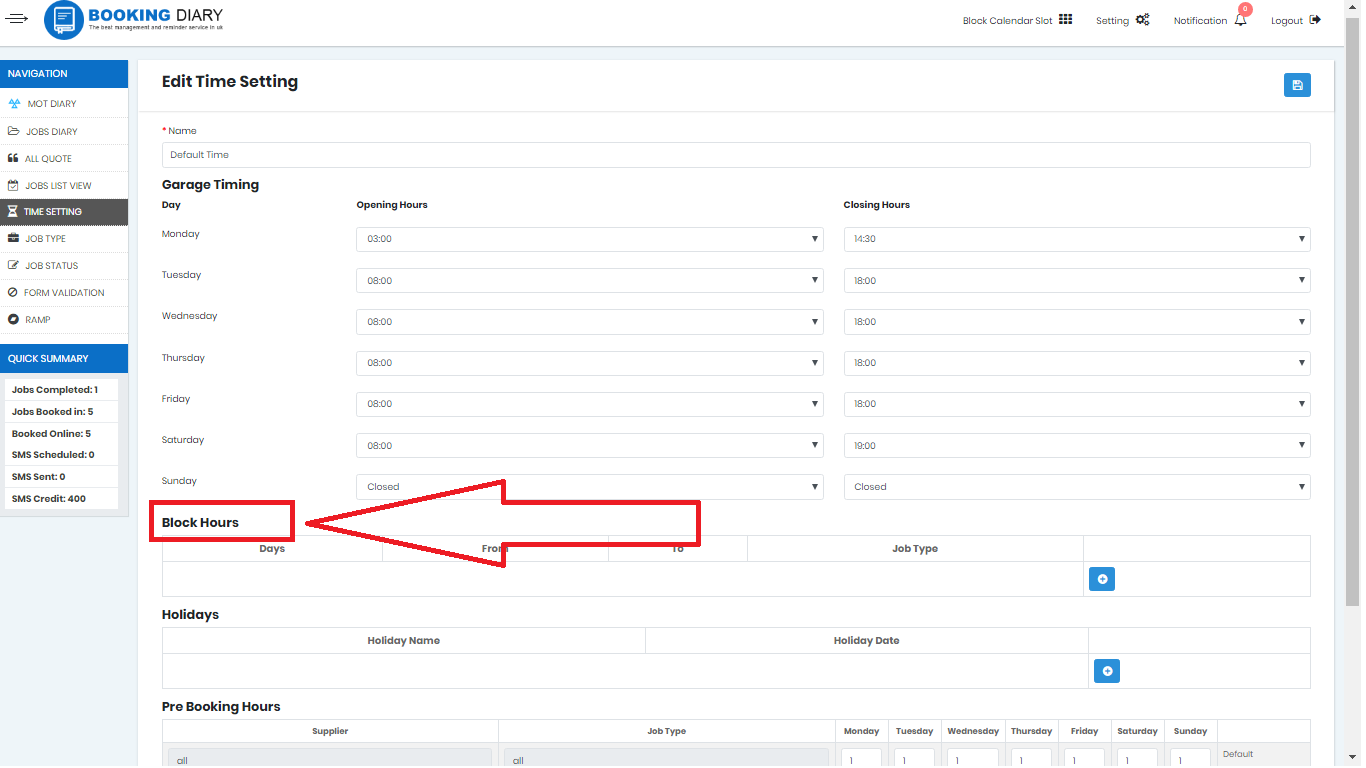
Block hours-
This is the time of the day when you will be having lunch or are involved in some other activity. This is the time when you don’t want booking in between your opening and closing hours.
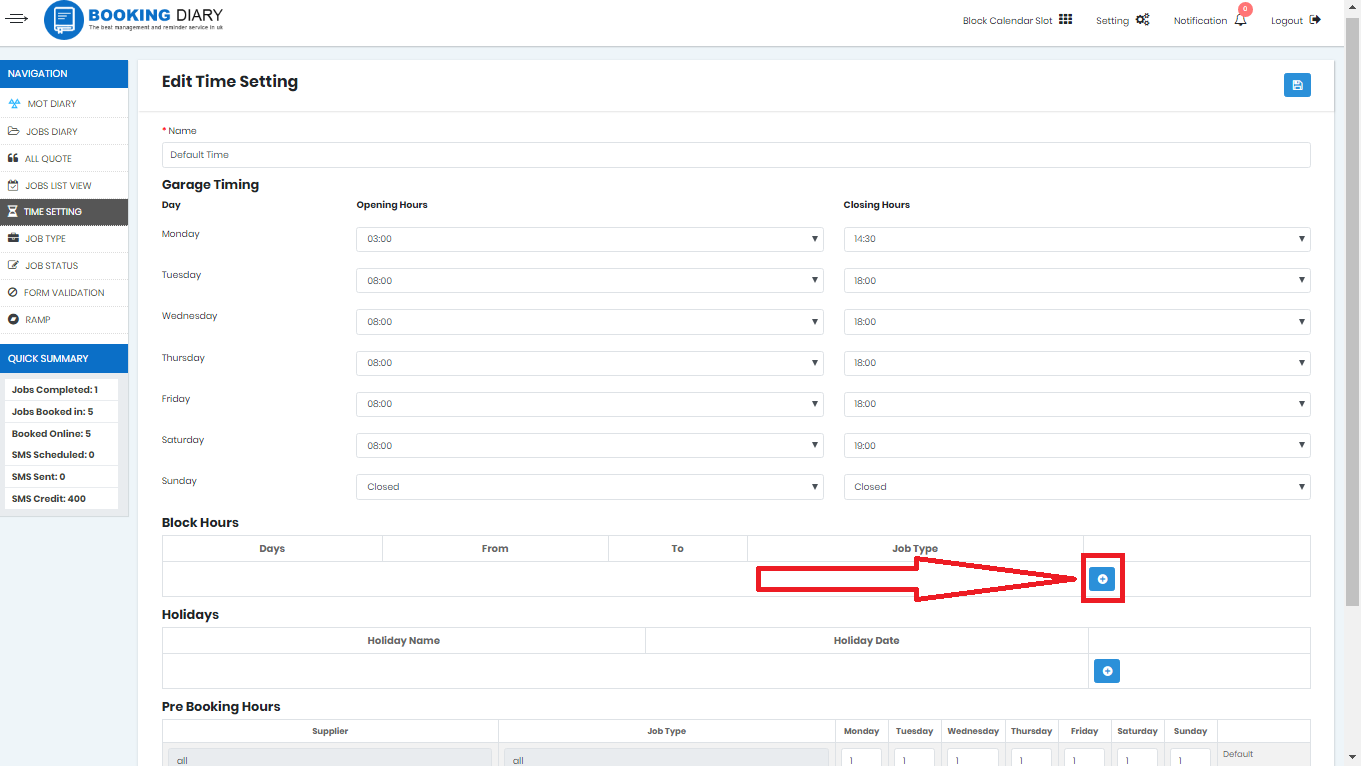
To add the time simply
- Click on the blue circle with a plus mark.
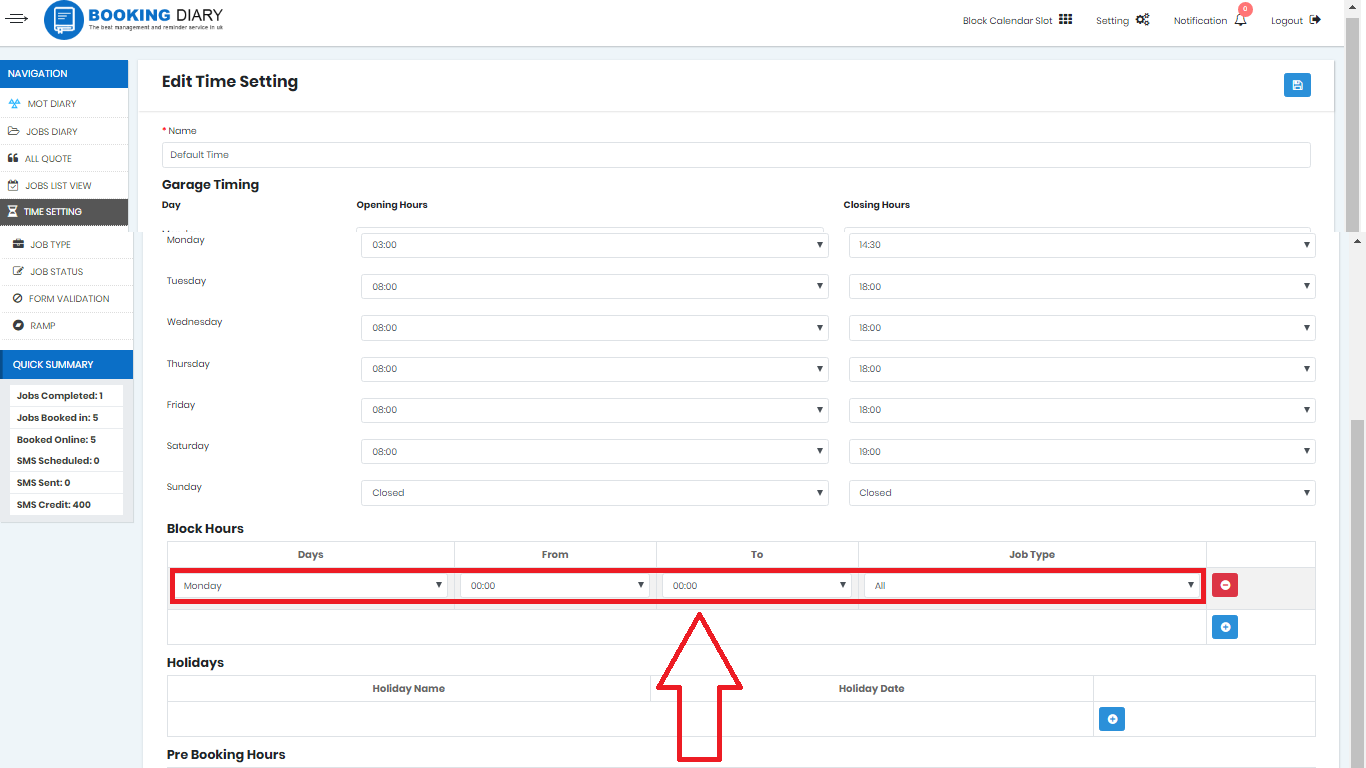
- Add the day, time and type of service (it will be shown blocked in the calendar, and no customer will be able to book it at that time of the day).
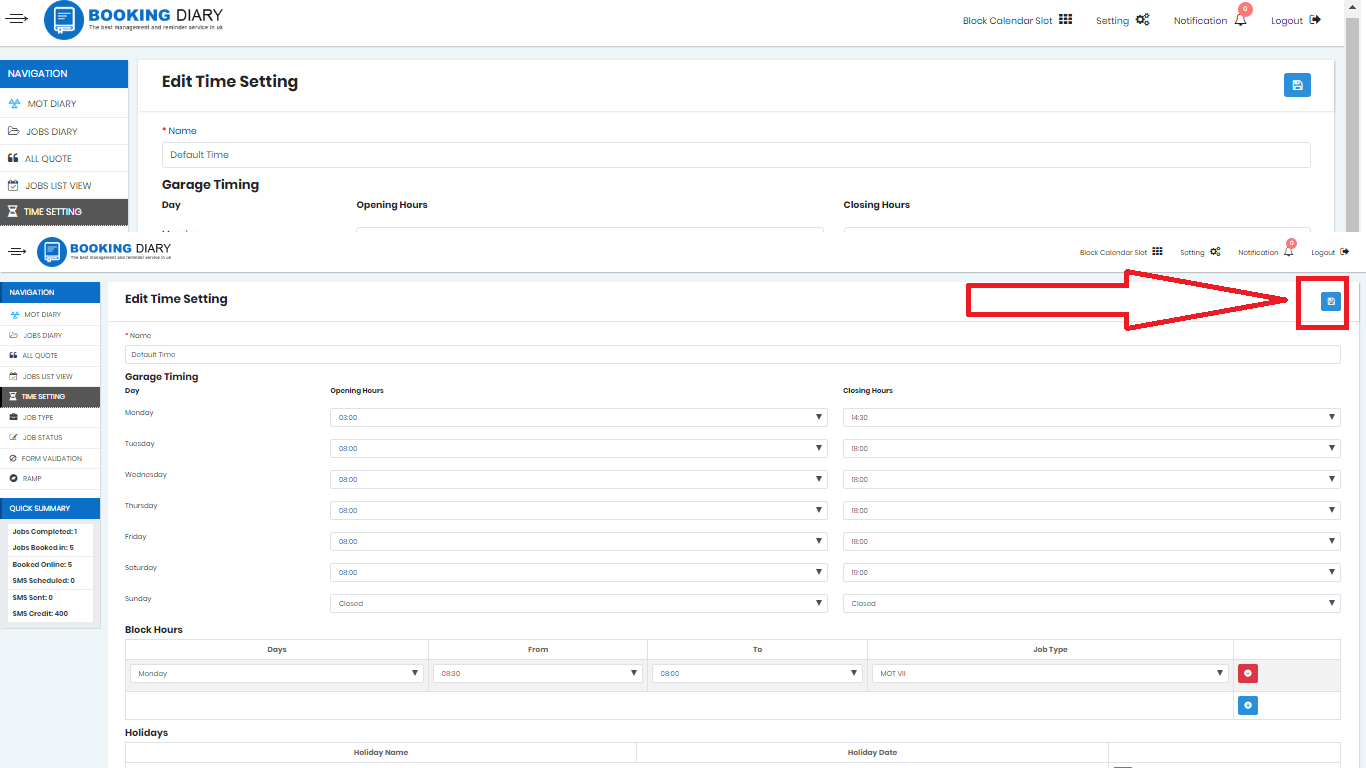
- Click on save.
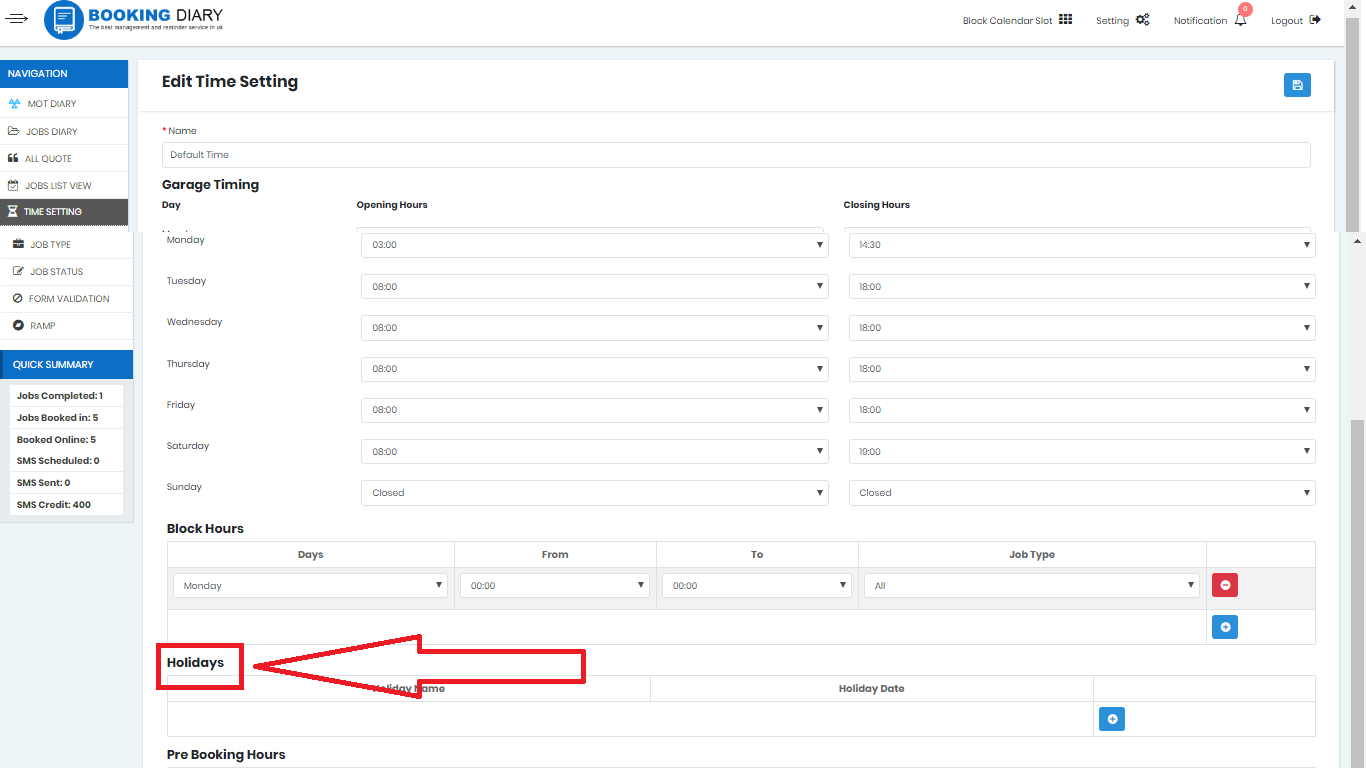
Holiday-
You can cancel a day and its booking by telling your customer: the holiday’s name and date of the day. And the calendar will automatically block the day for booking.
- Click on the blue square with a plus sign
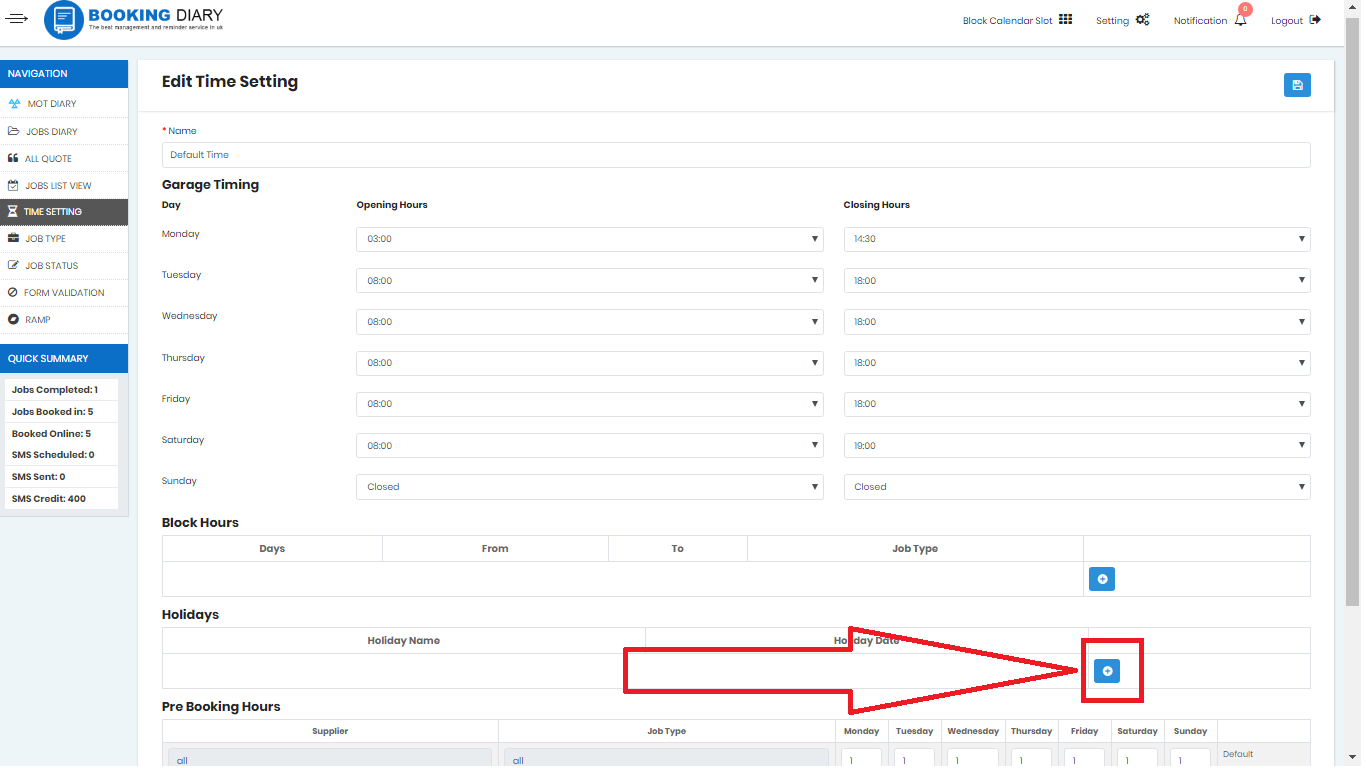
- Enter the Name of the Holiday.

- Enter the date.
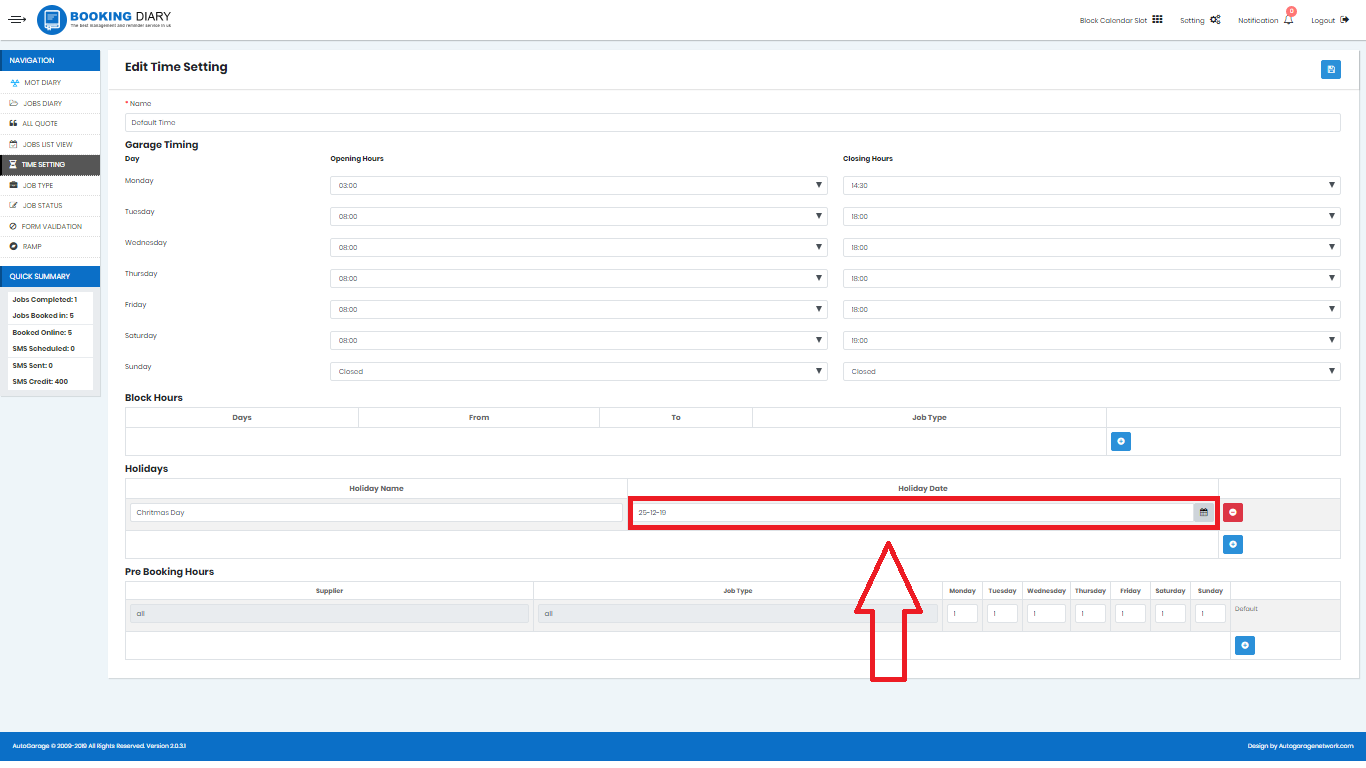
- Click save provided on the page.

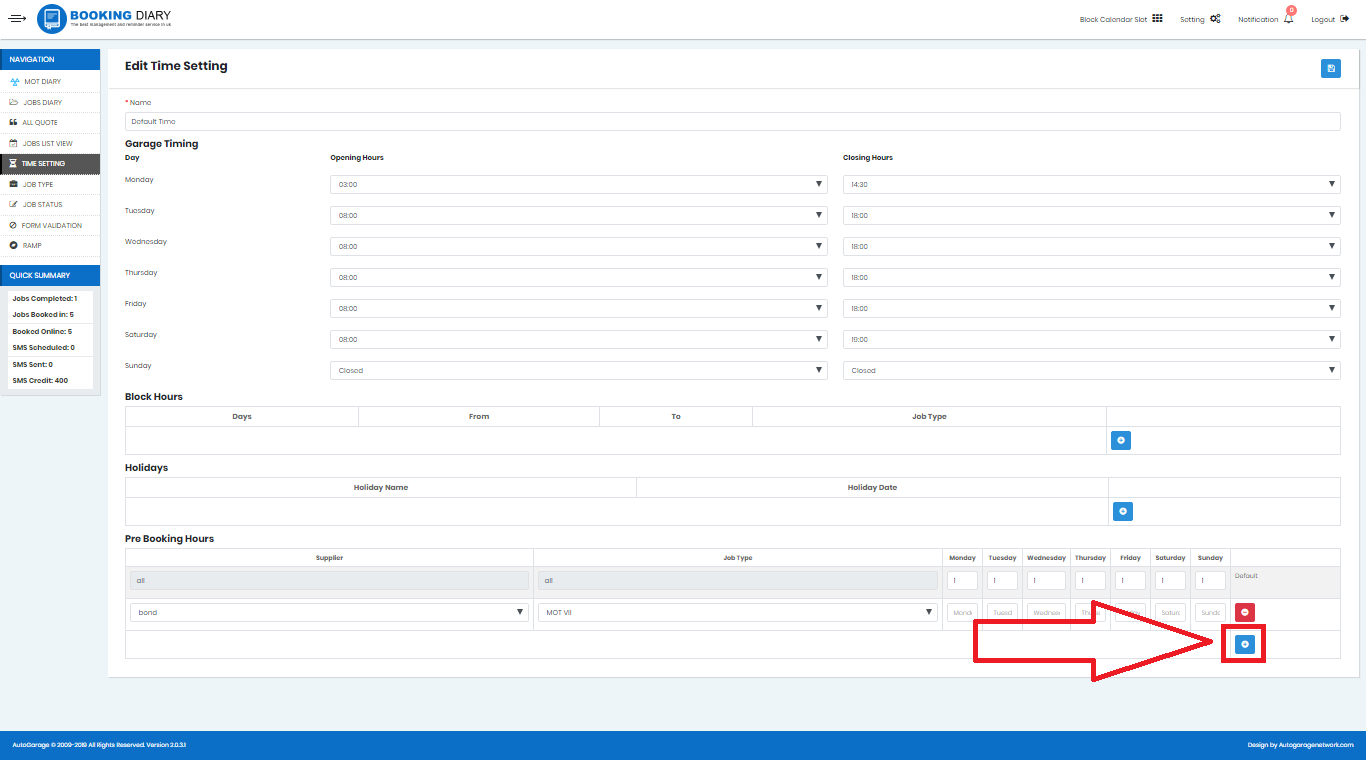
Pre-booking-
You can also ask the customer to pre-book the job or MOT appointment for an hour or two before the time of the service. Else that will be considered null.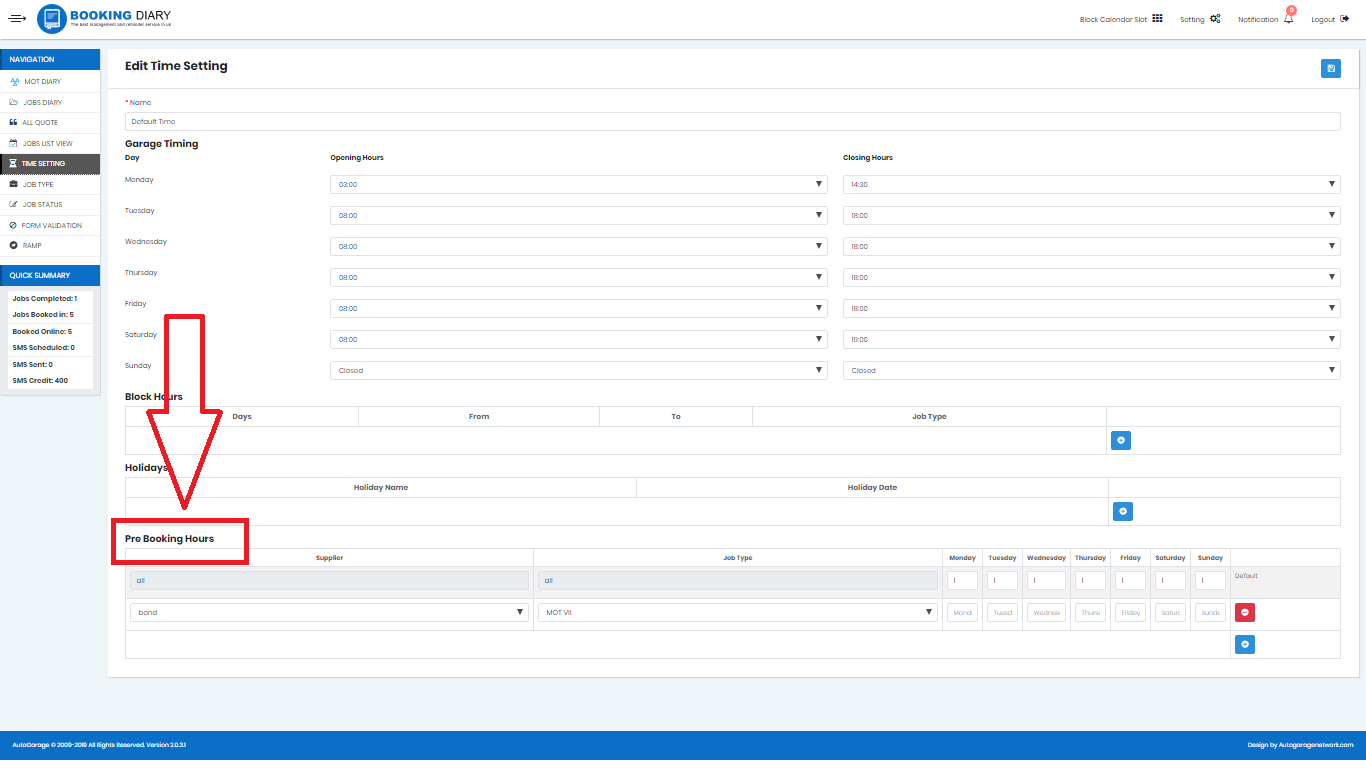
To do that, follow:
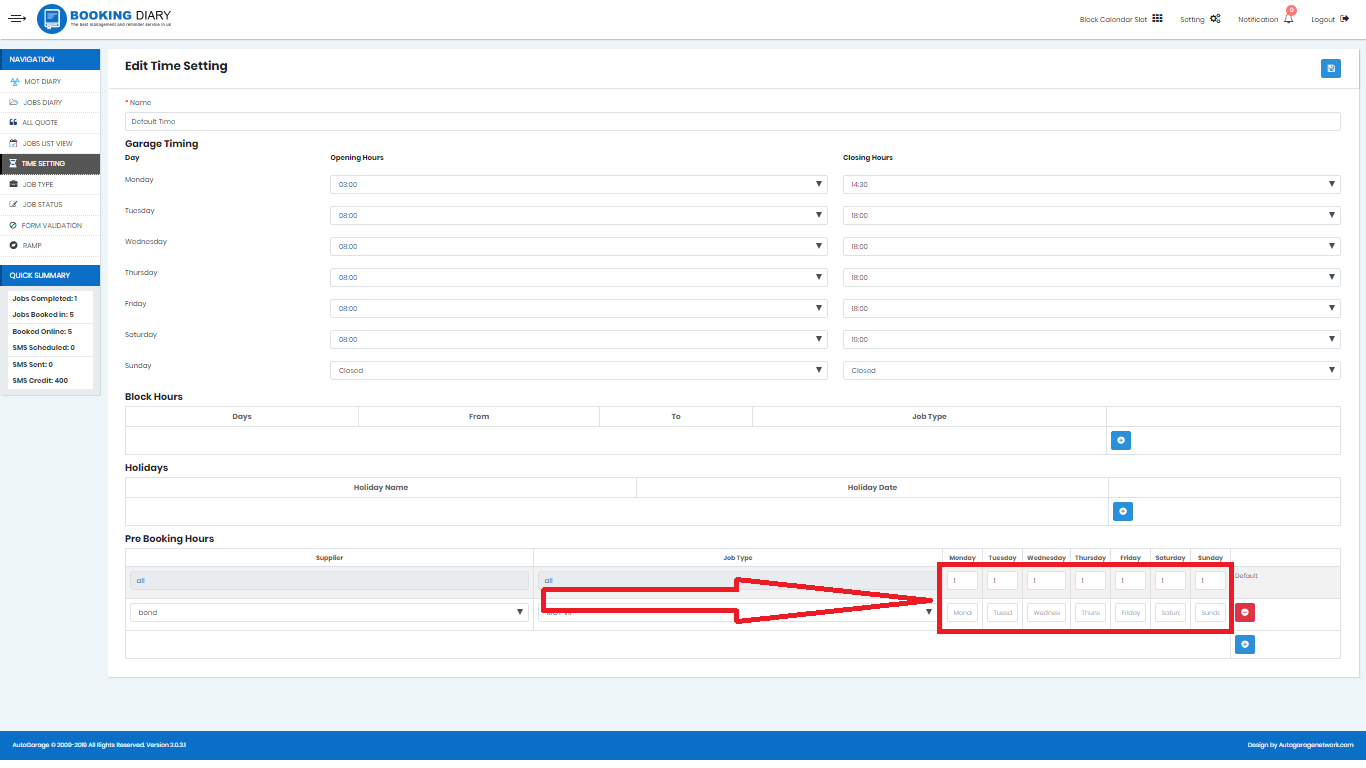
Use the spaces provided under the days and fill in a number that is in hours for the pre-booking time limit.
To add the pre-booking hours requirement for specific a job:
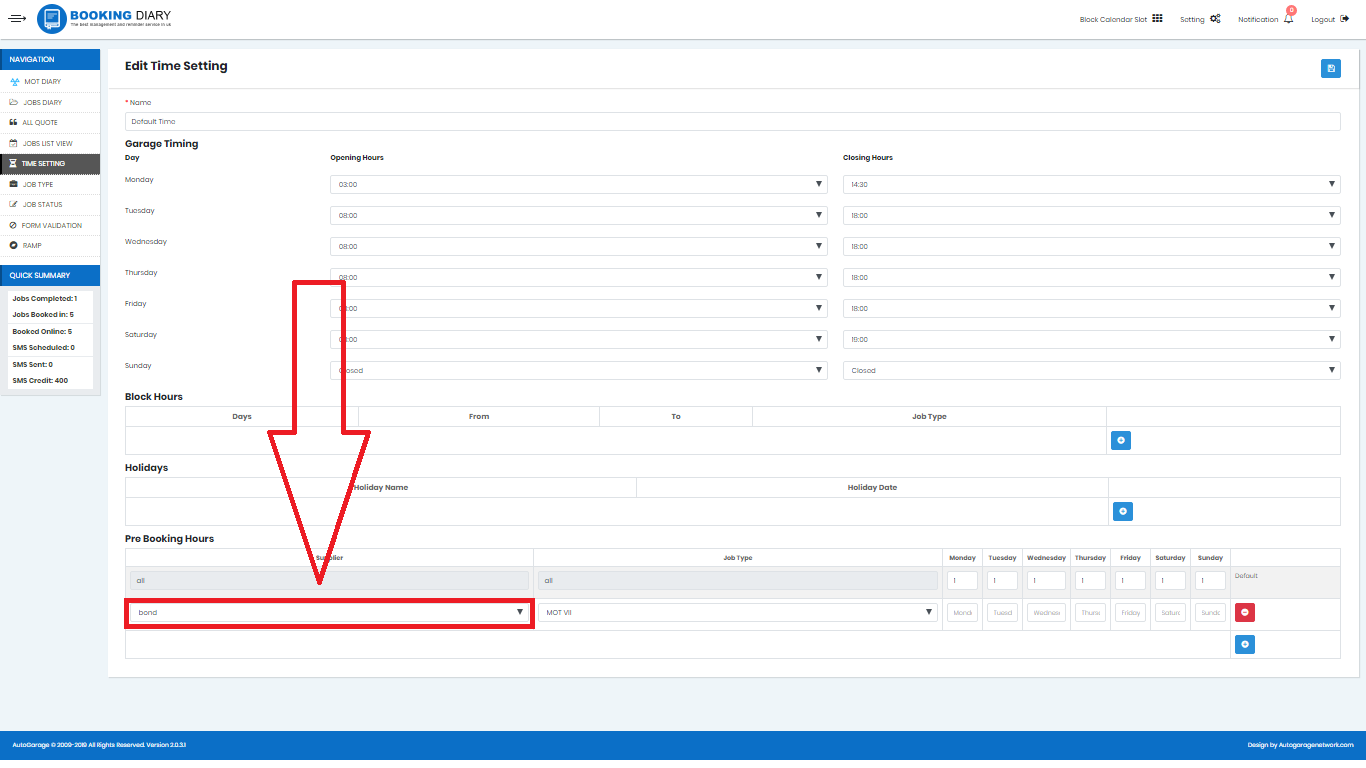
- Click on the add.
- Select the kind of supplier.
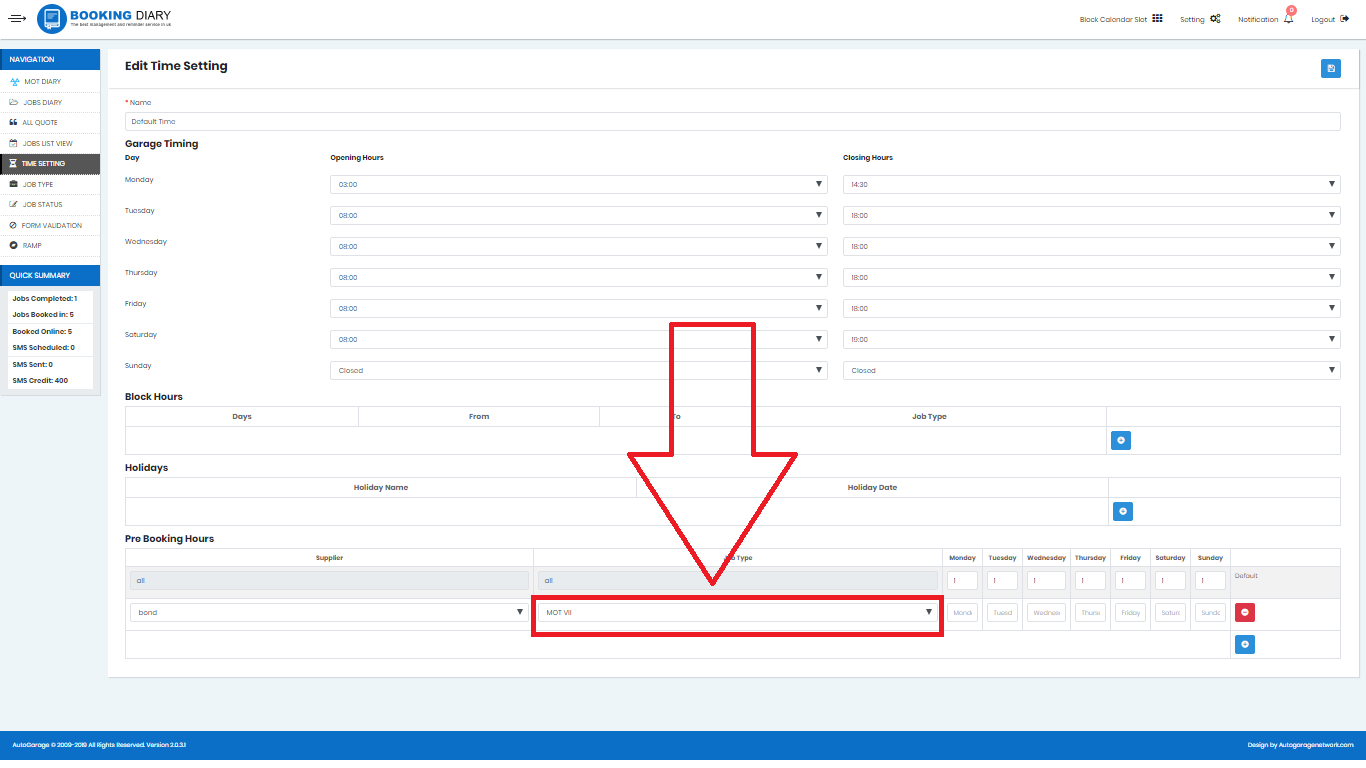
- Select the type of job.
- Select the prebooking hour requirement.
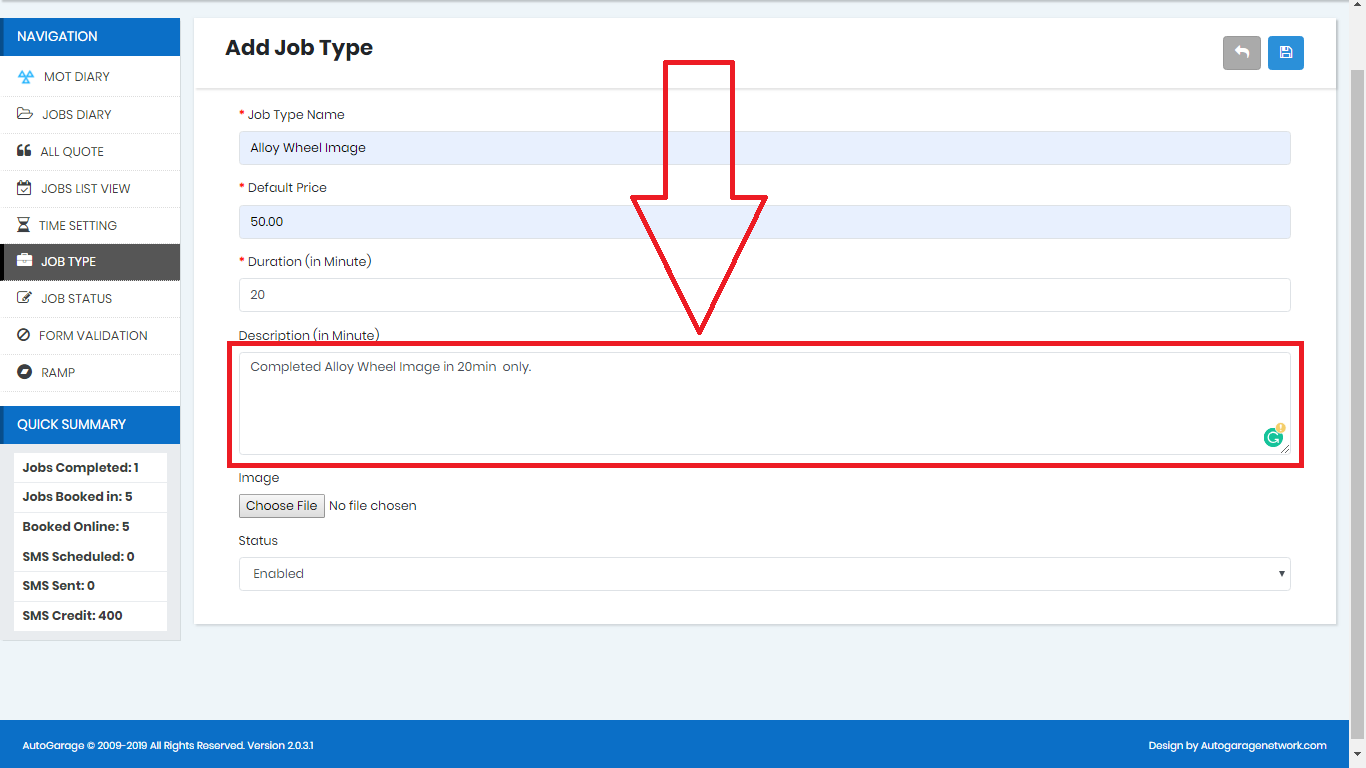
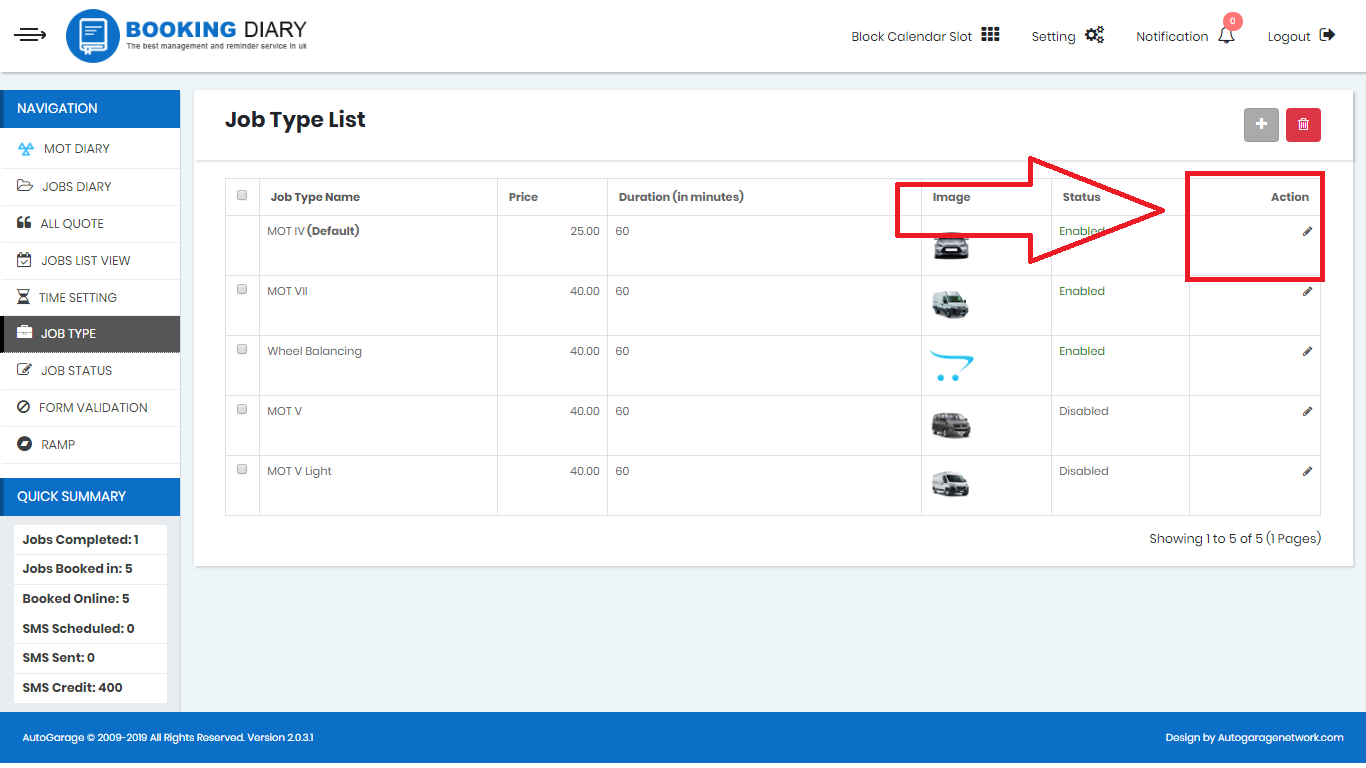
Job Type-
You can edit the kinds of jobs your garage provide with this tab.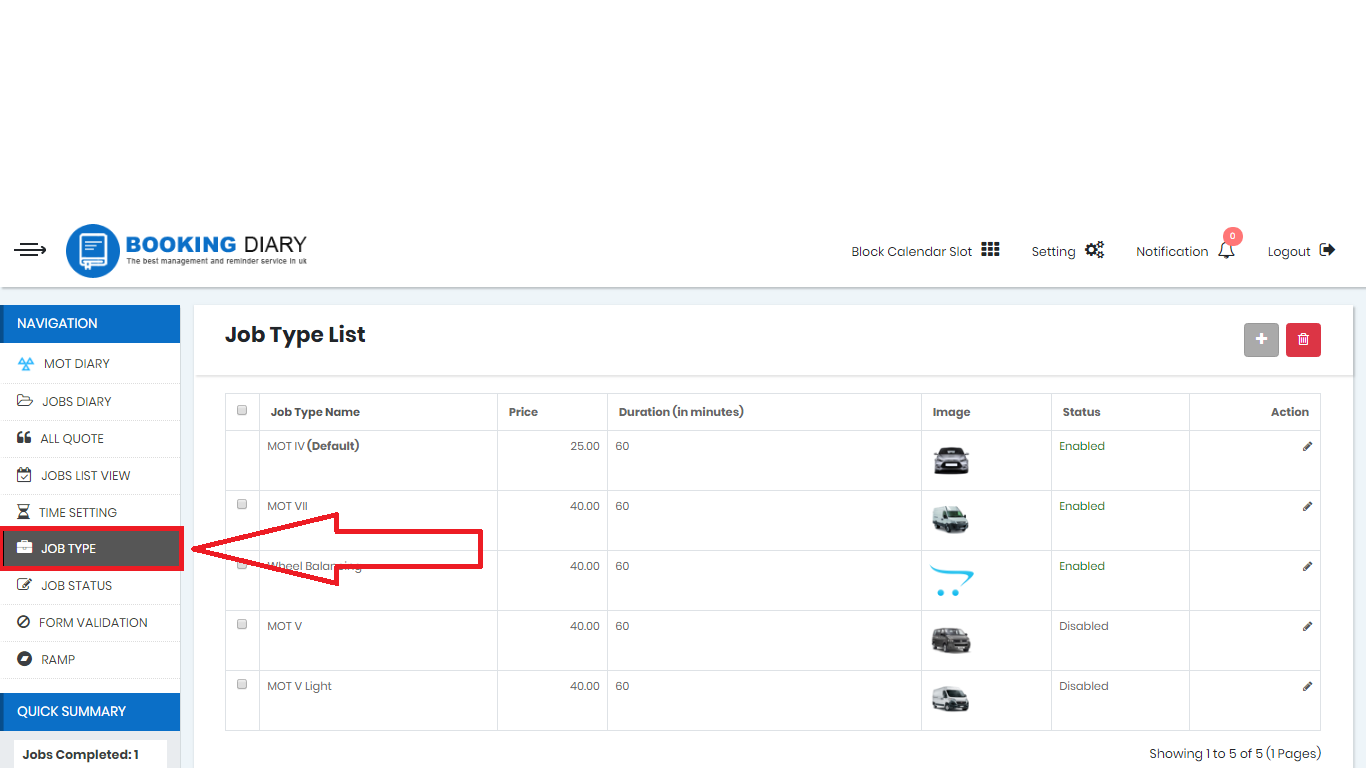
- To add click on the grey square with a plus sign.

- Fill the name of the job type.
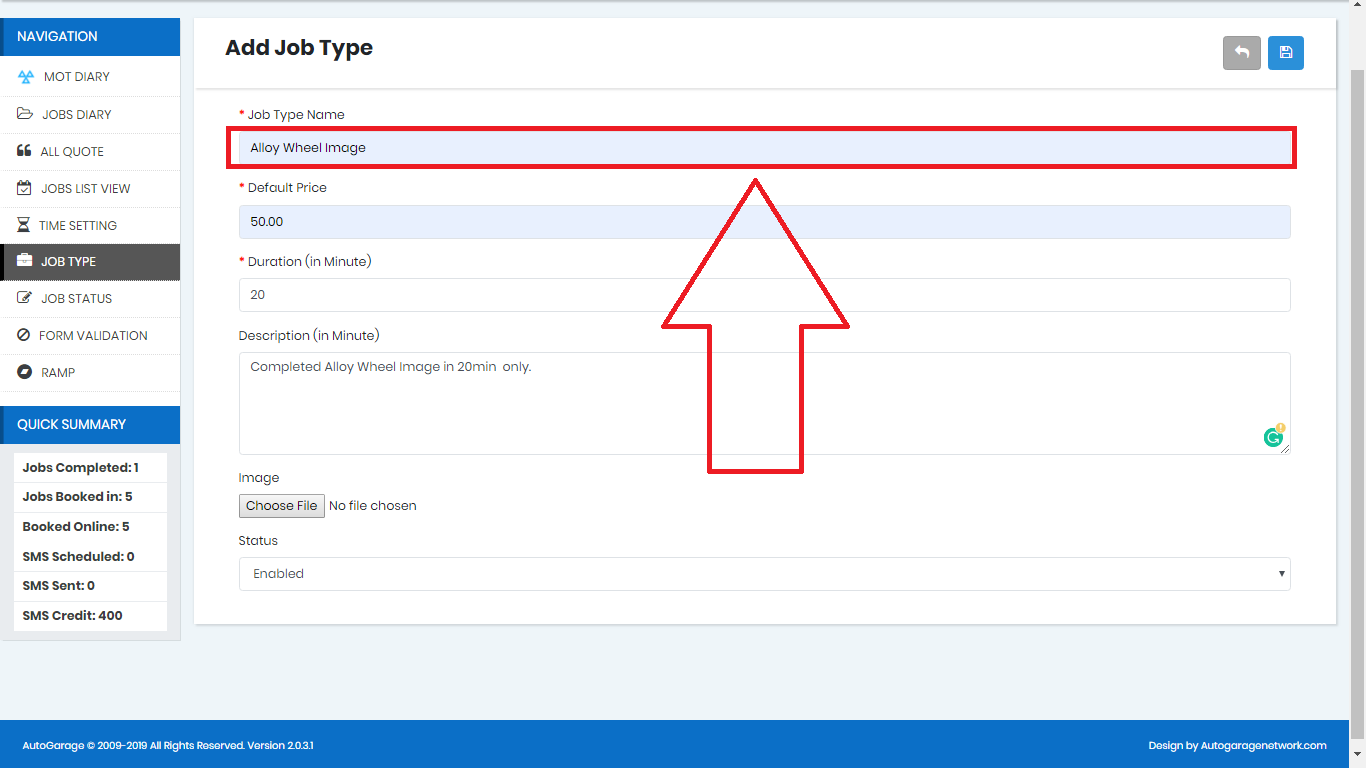
- Set a default price for the job.
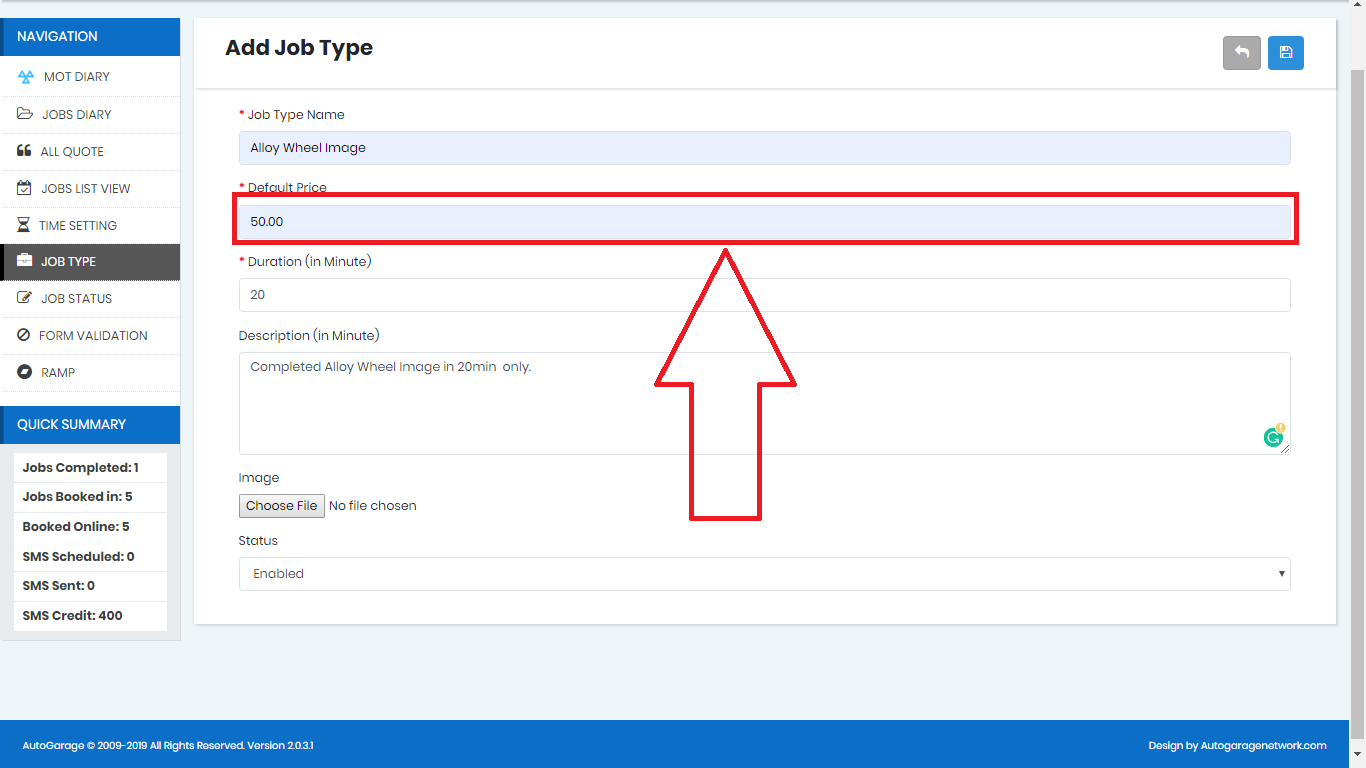
- Tell the customer how much time will it take.
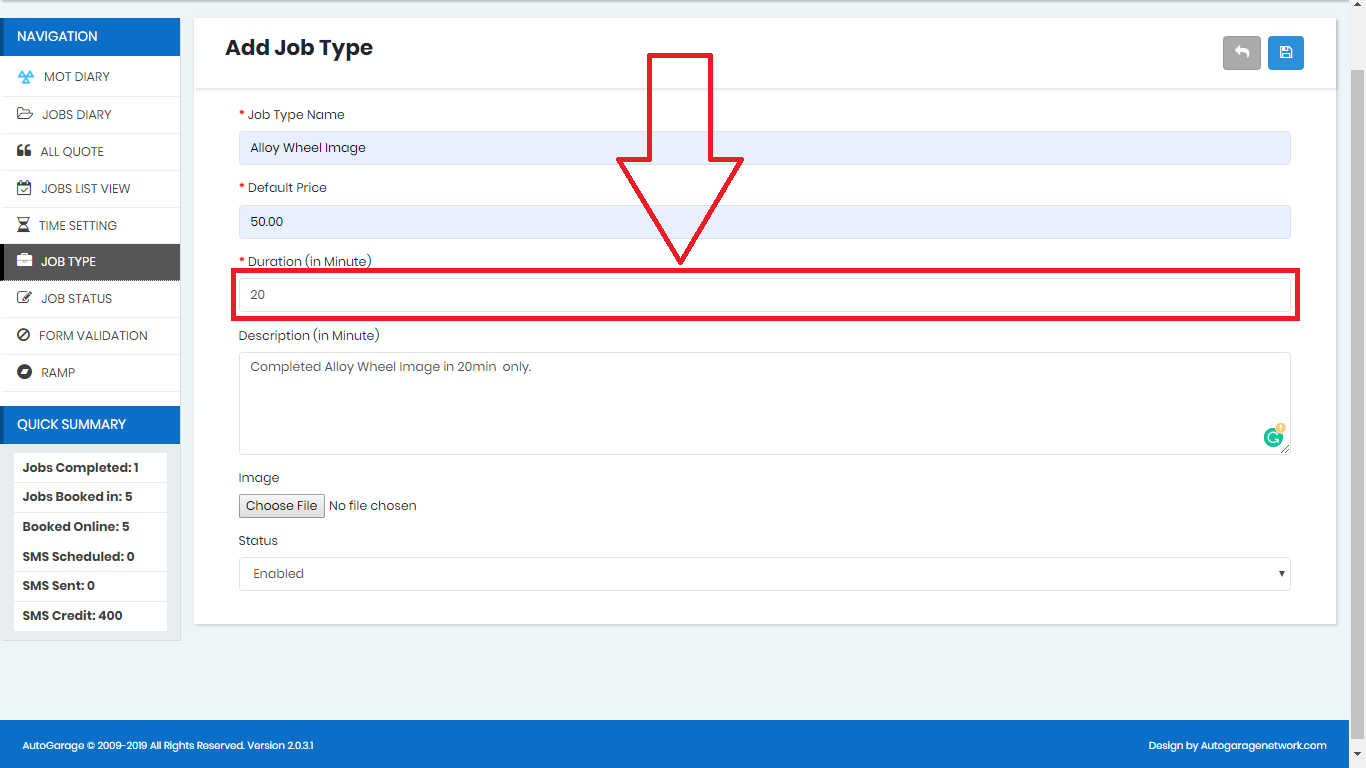
- Put in a small description of the job.
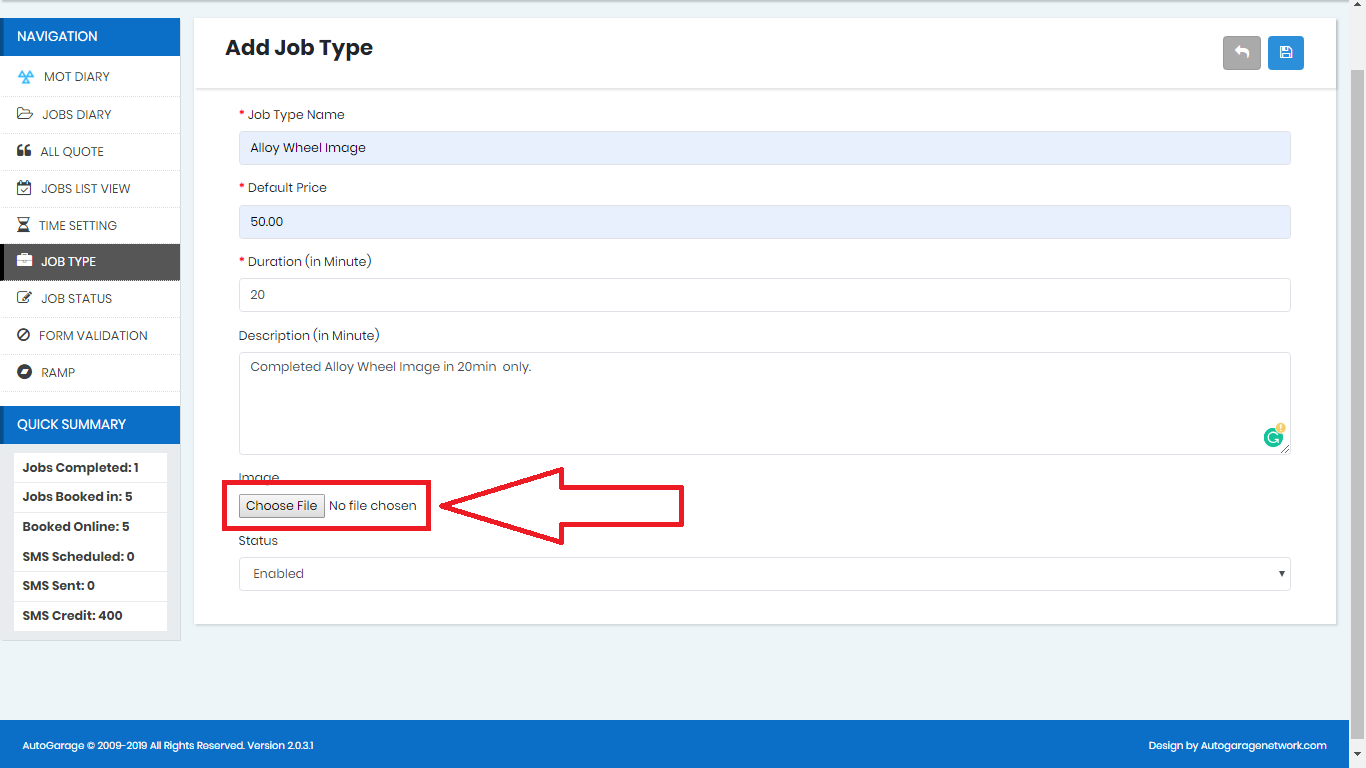
- Choose an image if any to describe your job.
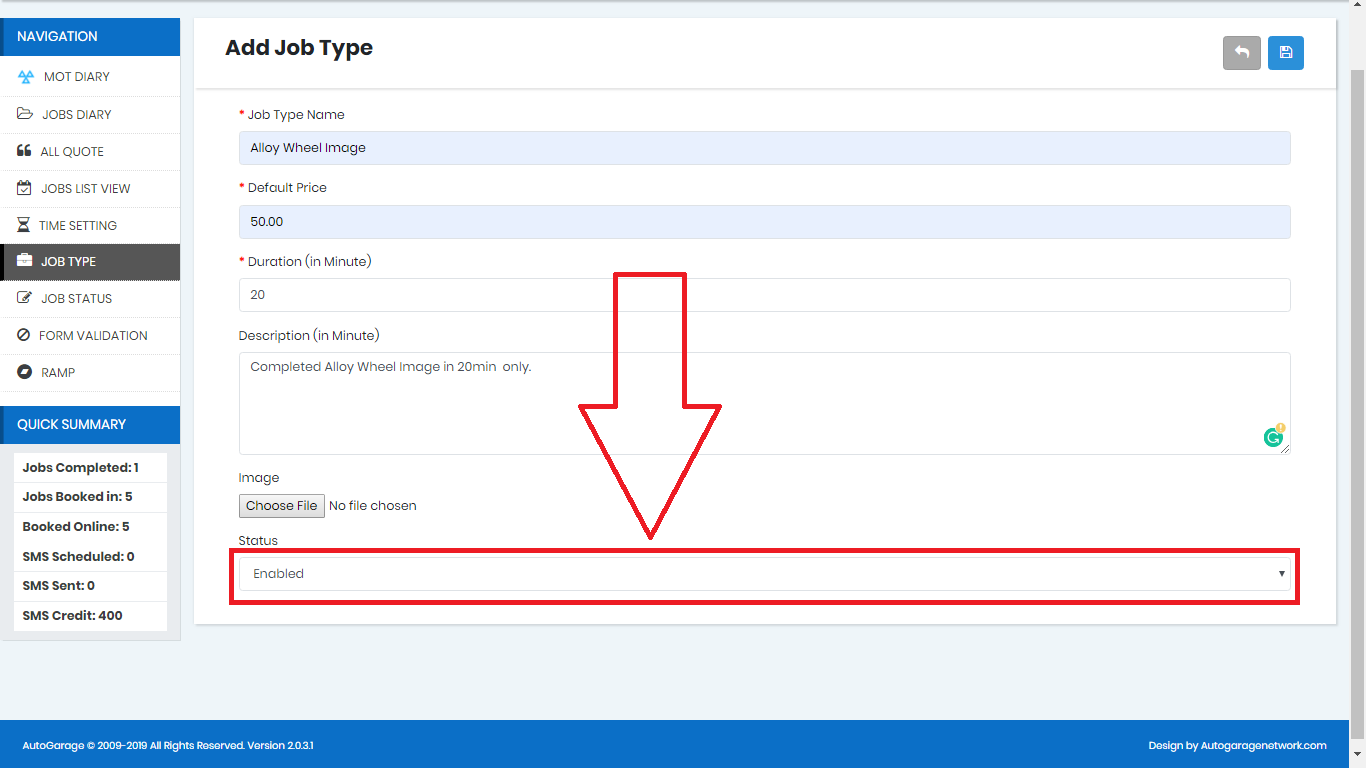
- Choose the status enabled to show it in the calendar or else turn it disabled.
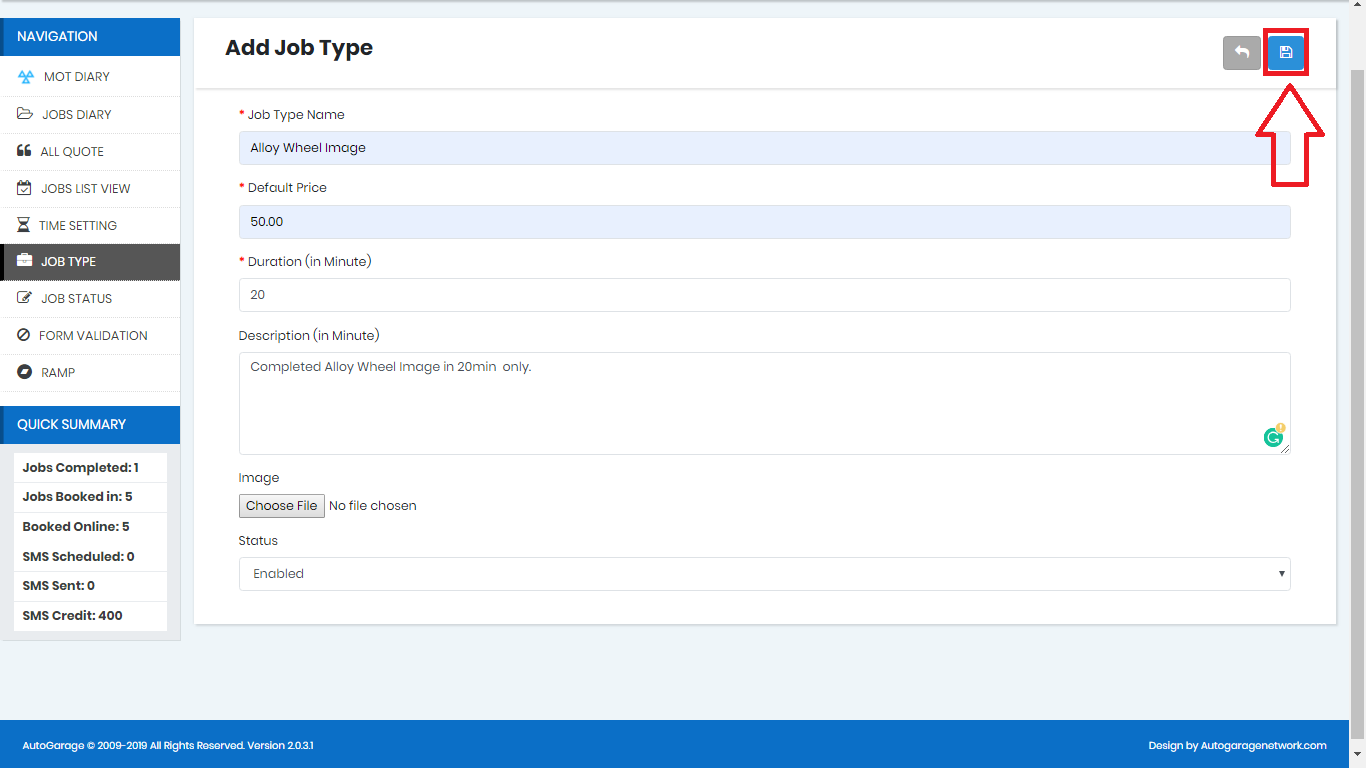
- Click on the save button.
- You can also edit your previous jobs from the action button.
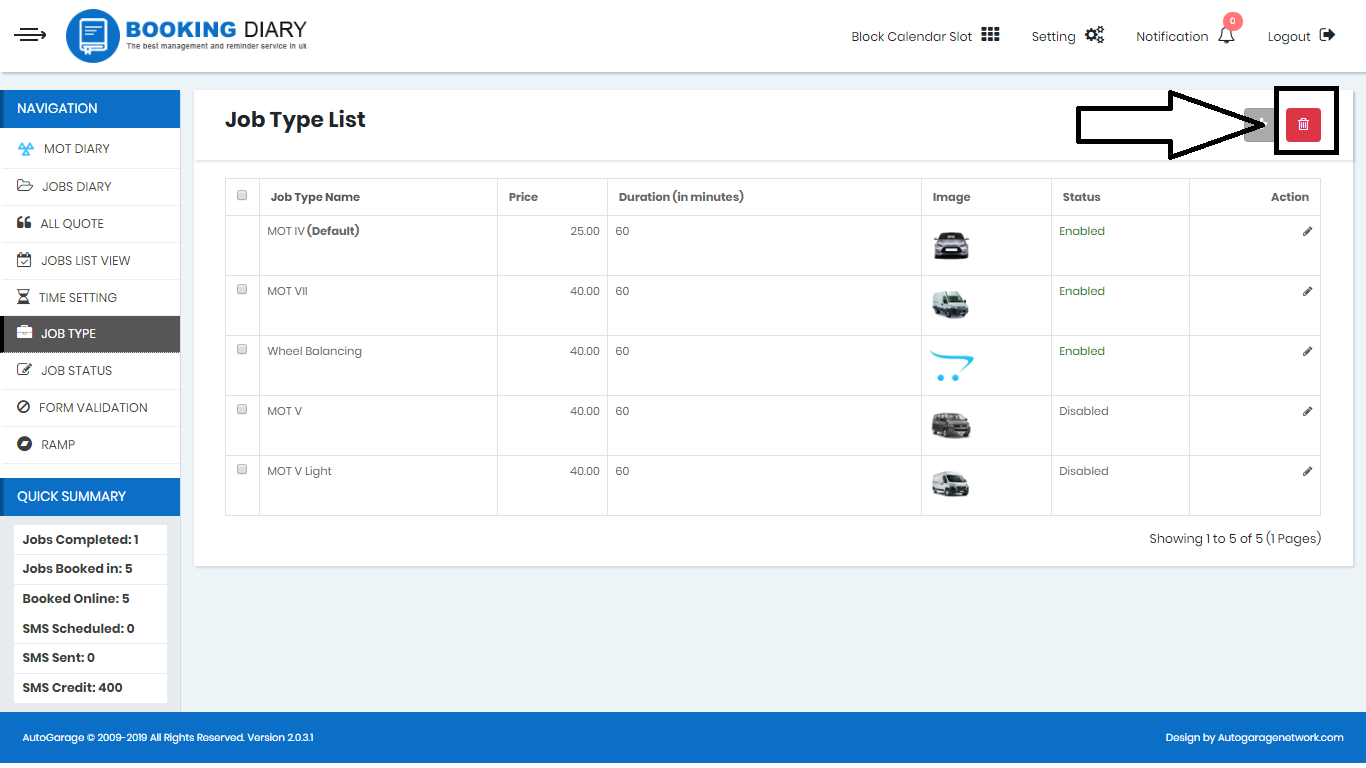
- To delete the job select the job/ jobs and click on the delete button with a red Garbage can.
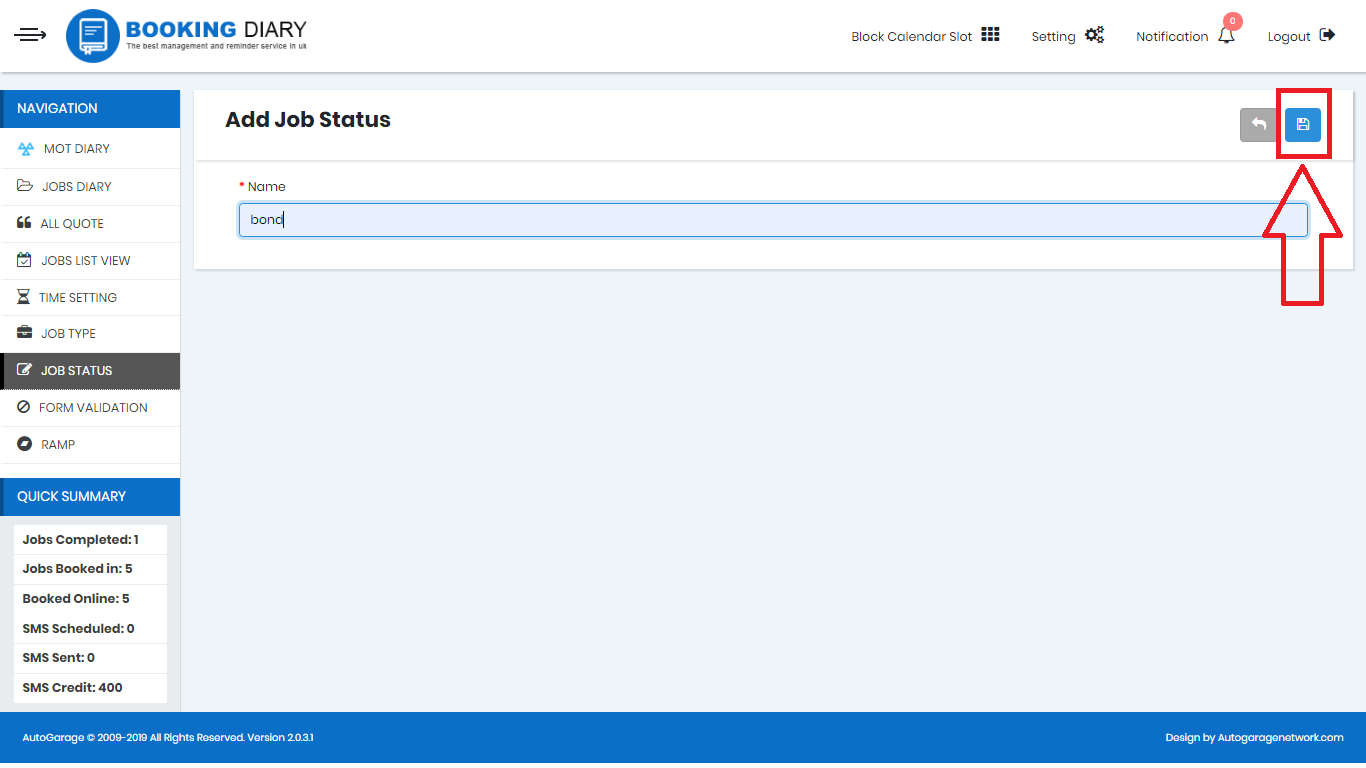
Job status-
To edit the kind of options you want for your job status in the job list use job status tab:
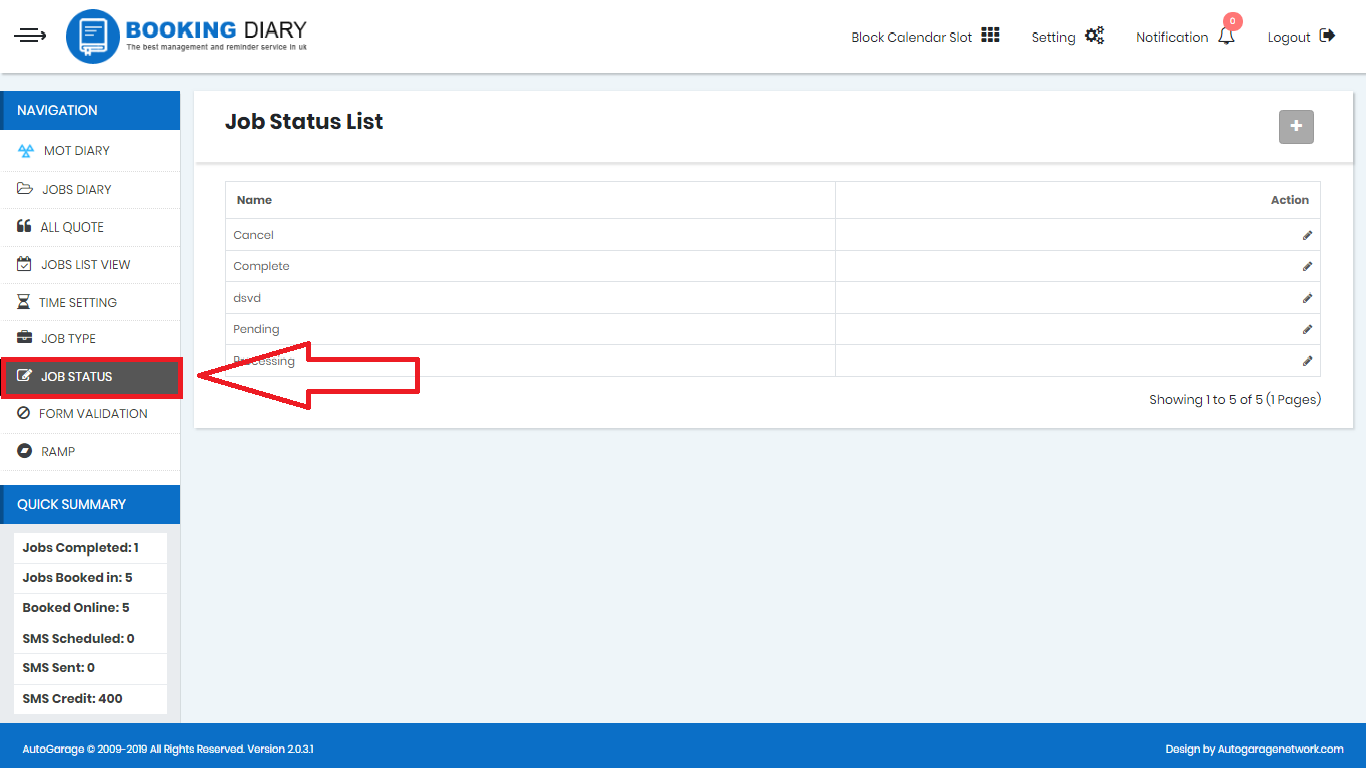
Here you can add new buttons that will be shown in the job list tabs, or you can always edit the old ones.
To add a new one
- Click on the add button provided with grey
colour and a plus sign on it.
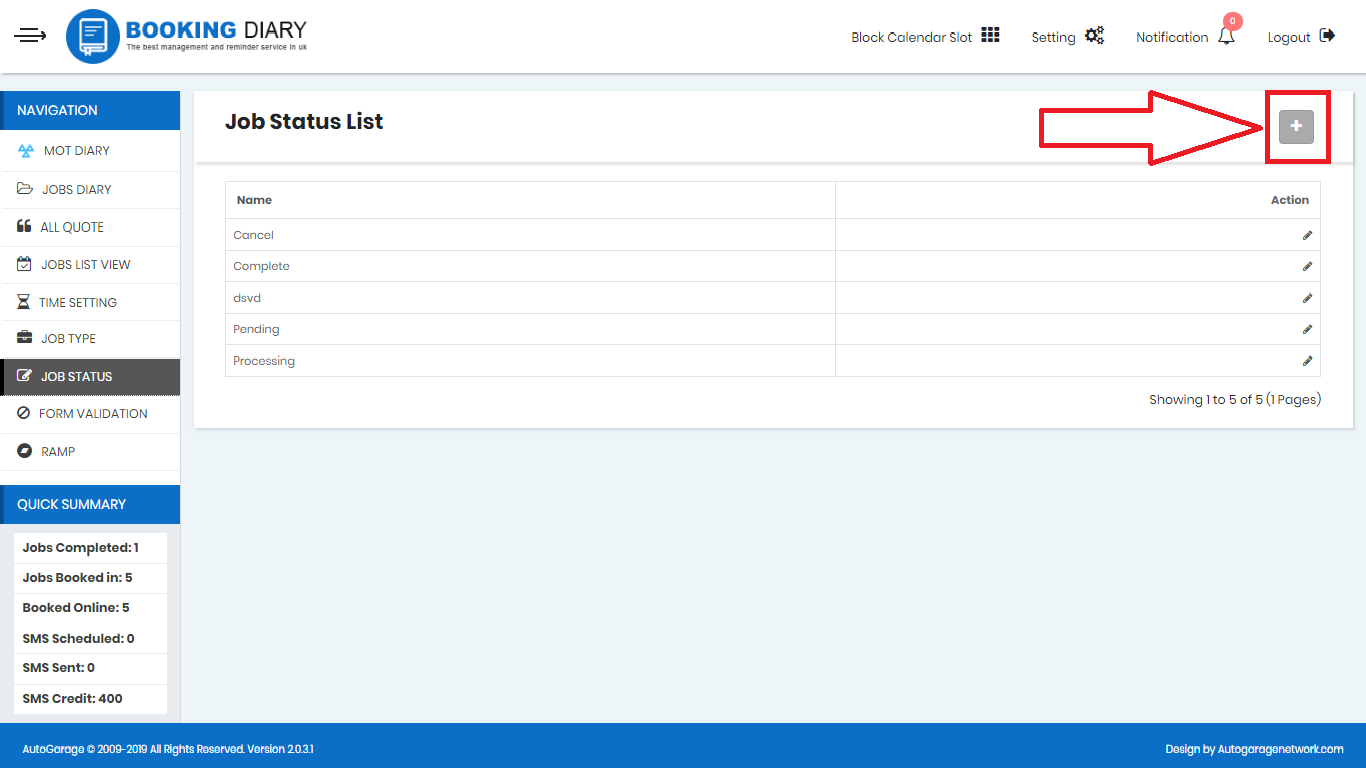
- Write the name of the job.
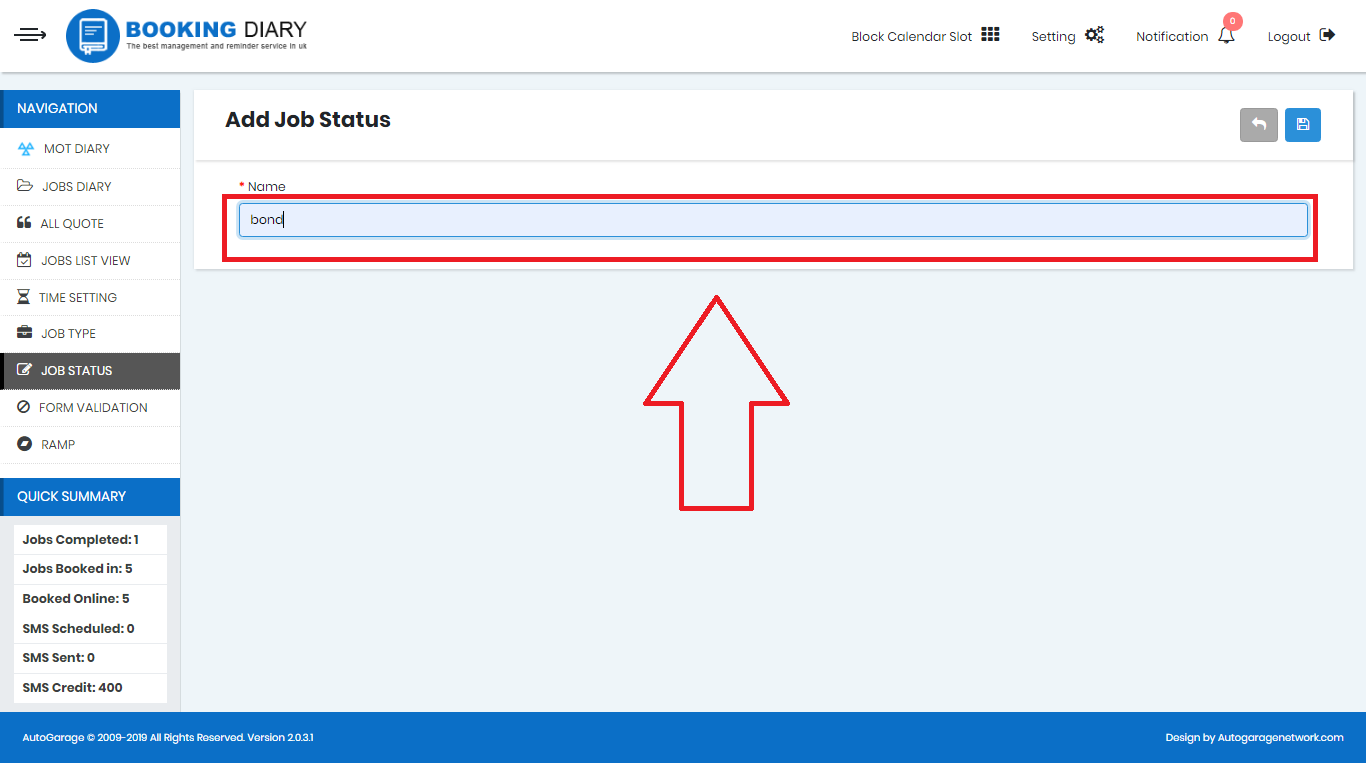
- click save.
Form Validation-
For a customer to get a quote from you, he has to fill a form to validate that service from you.
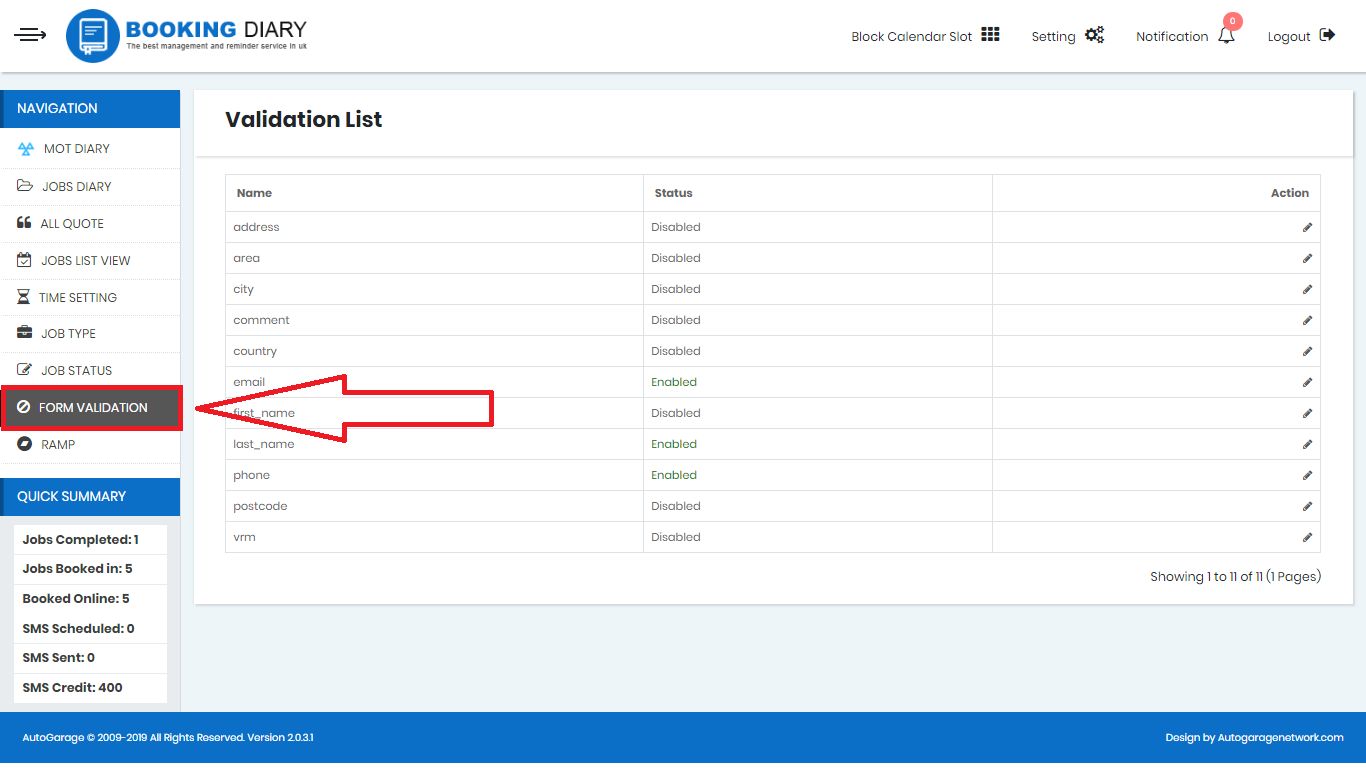
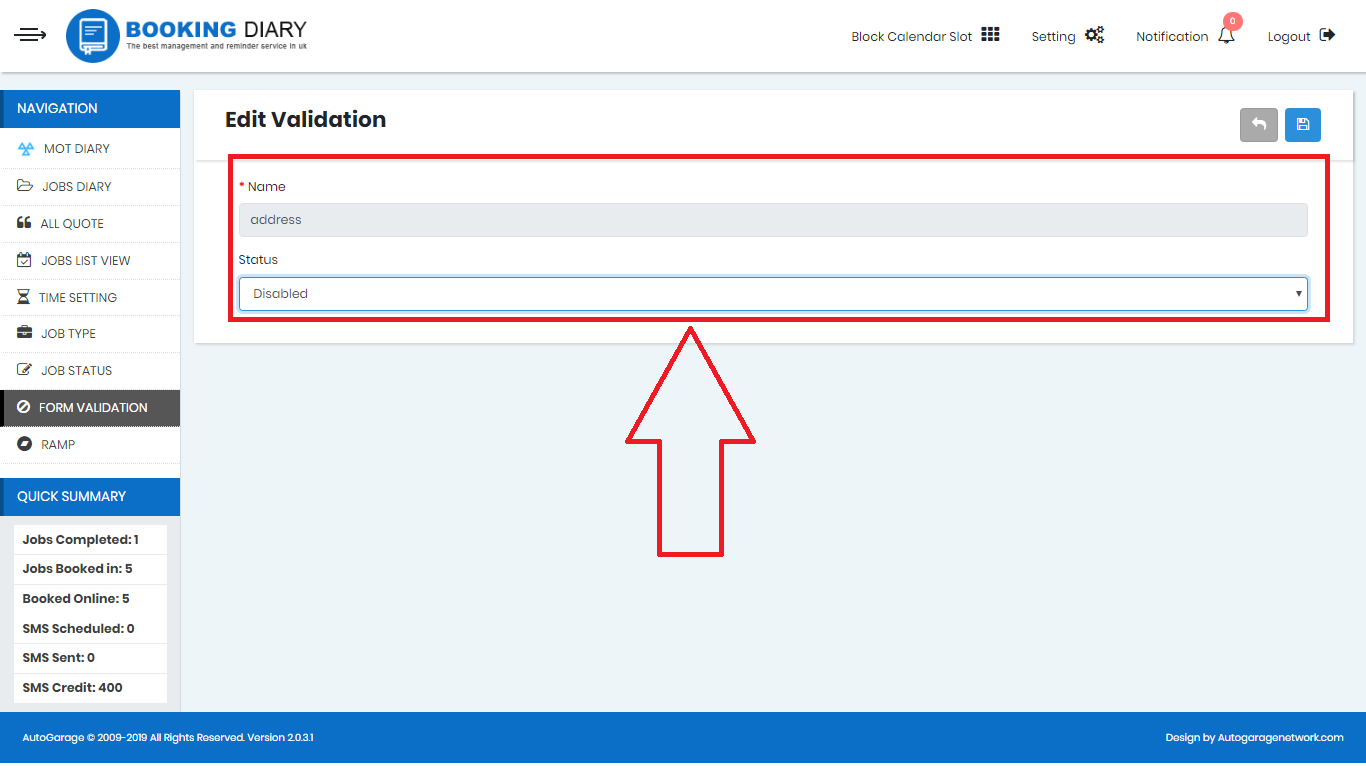
- Here you can edit a specific field of information that you want from your customers regarding the services they want.
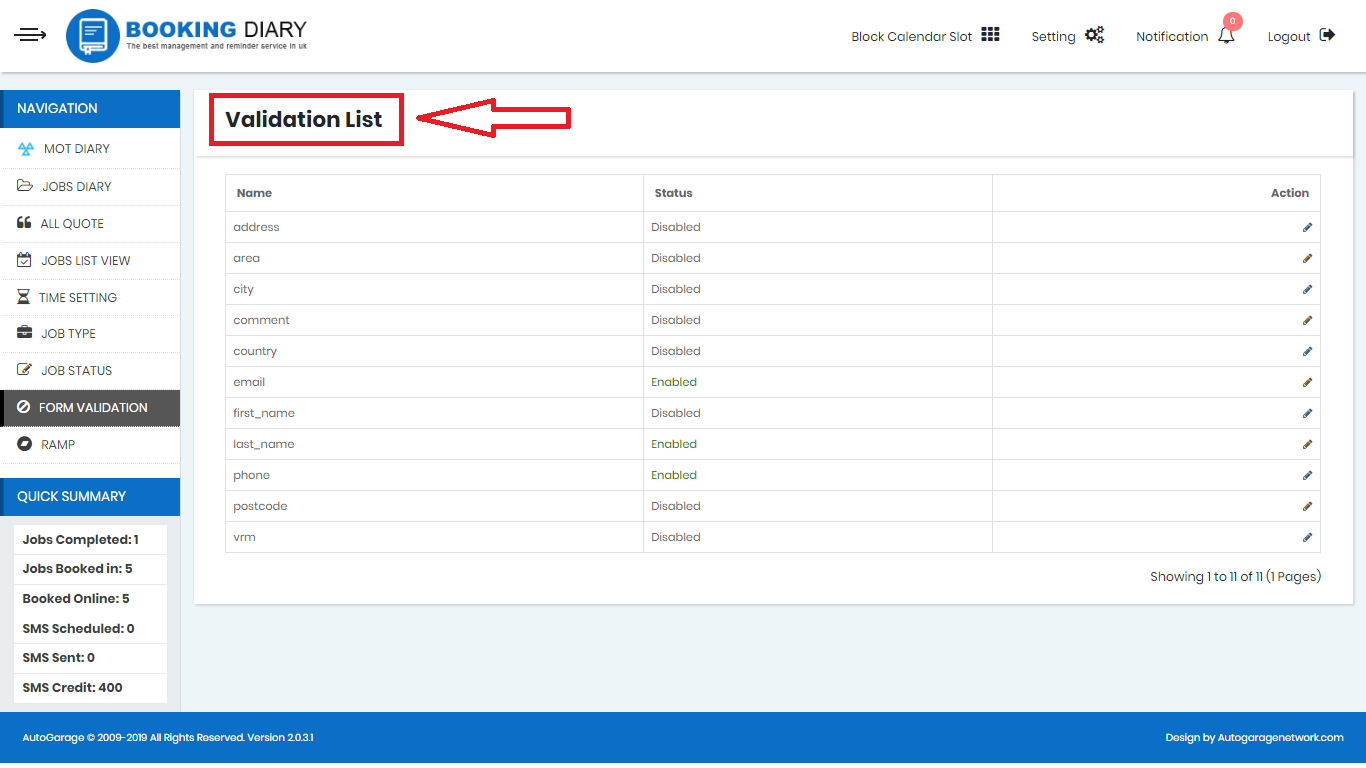
- To edit the field click on the action button.
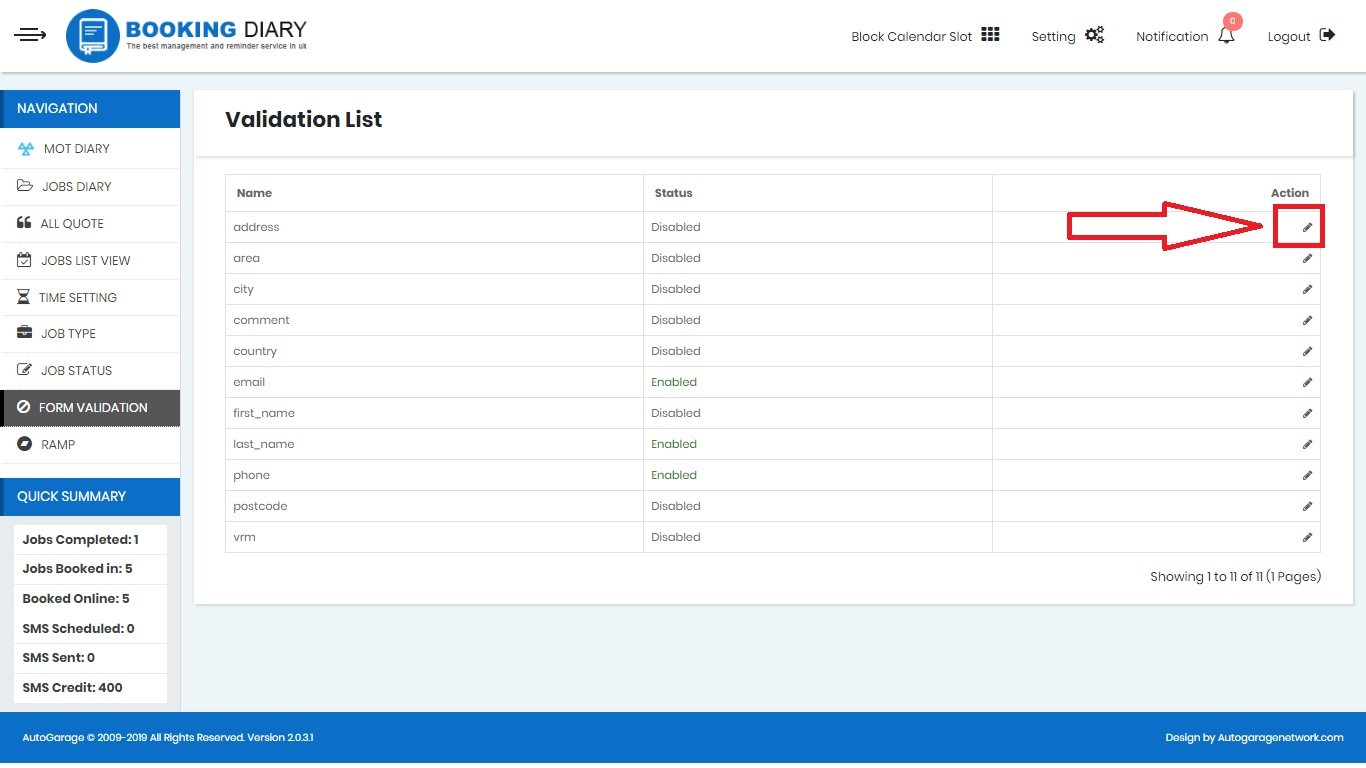
- You change the name of this field or can change the status to either enabled or disabled, that will be asked accordingly from a customer while they are filling a form for the quote from you.
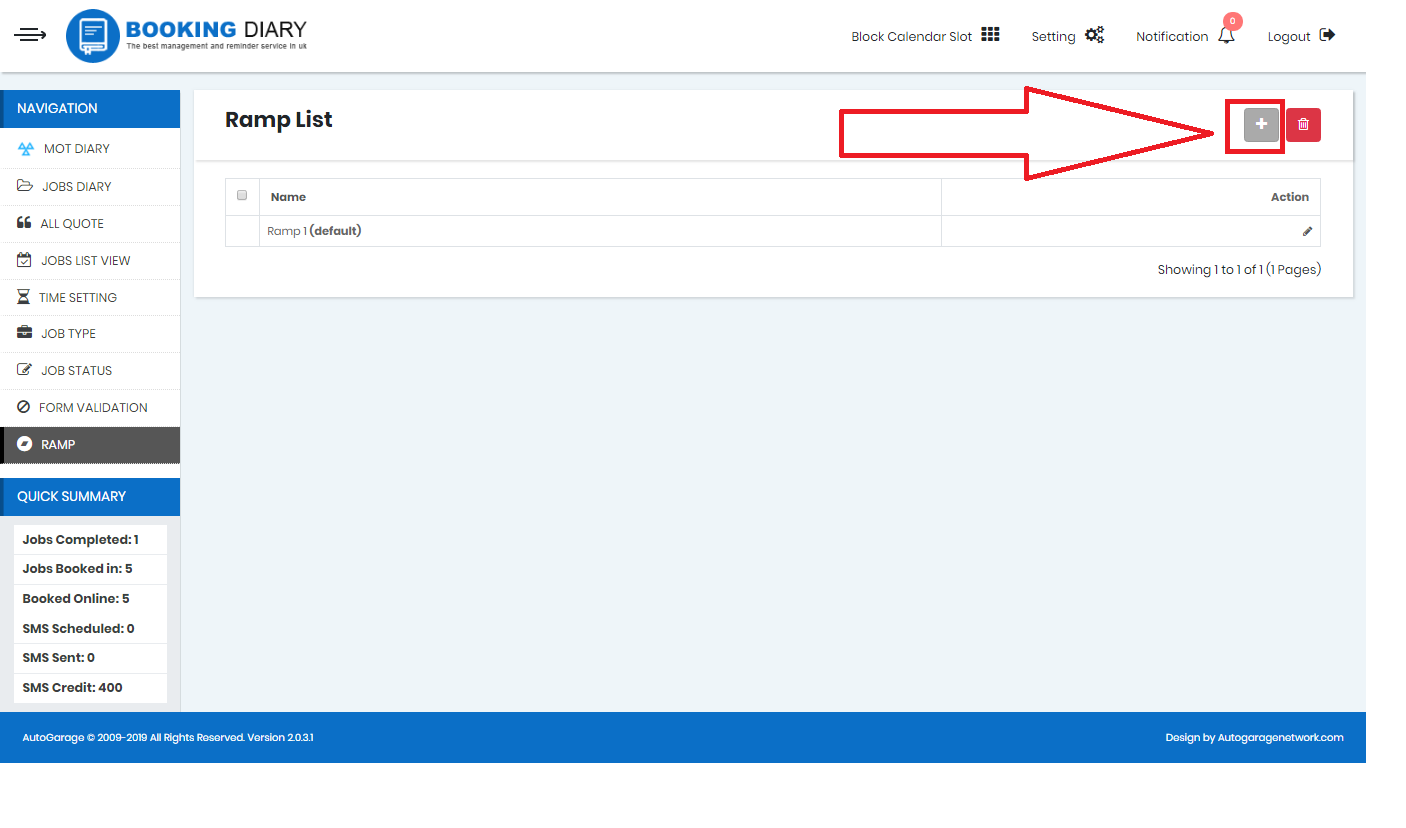
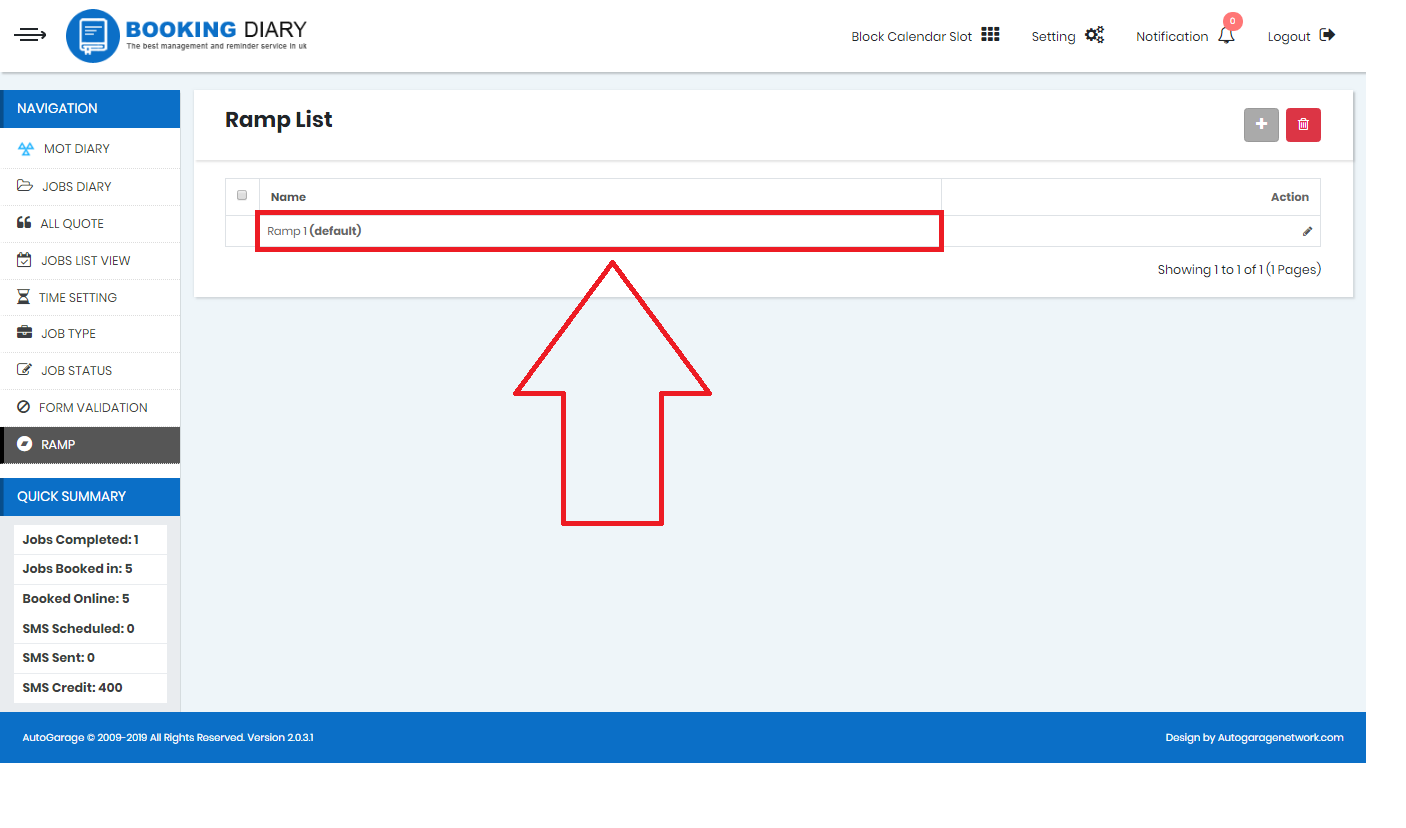
Ramp-
Here you can provide the number of ramps that you have available for your customers.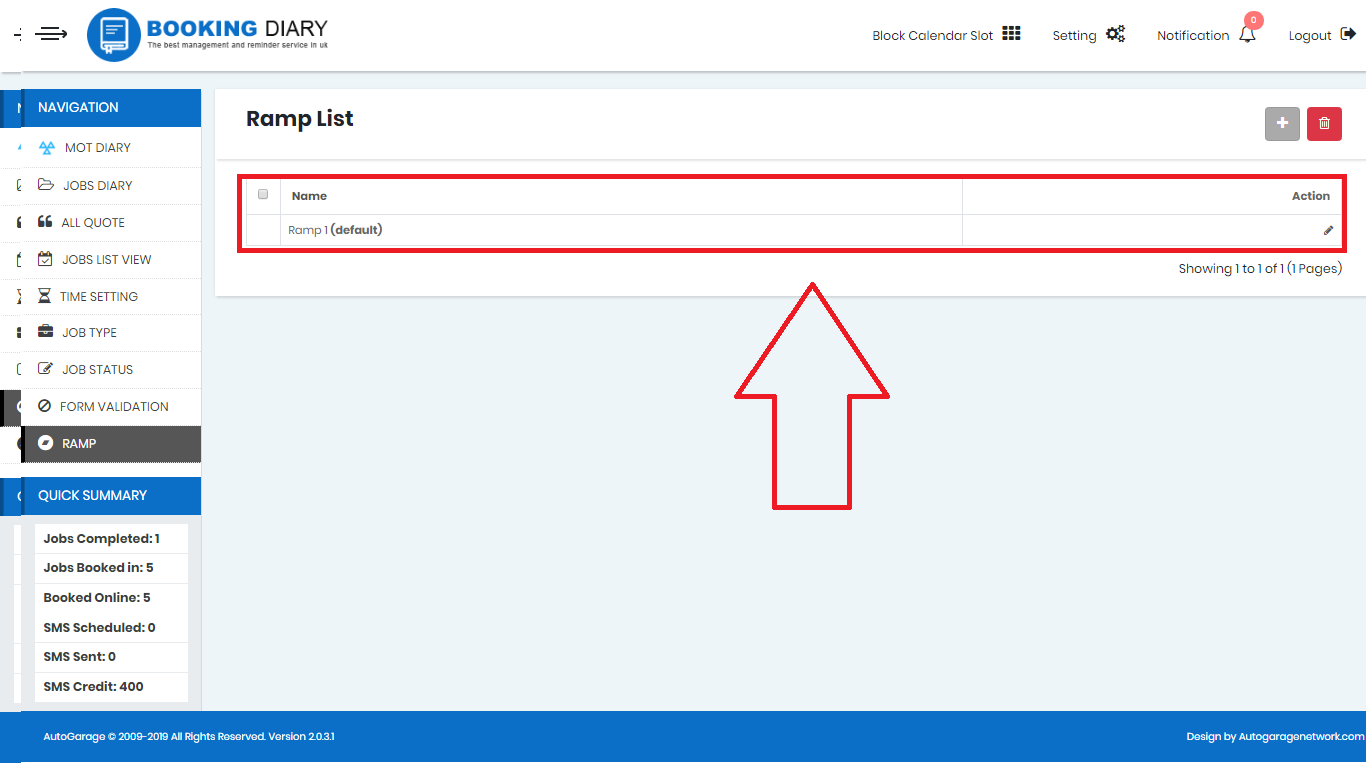
You can add or remove the ramps accordingly.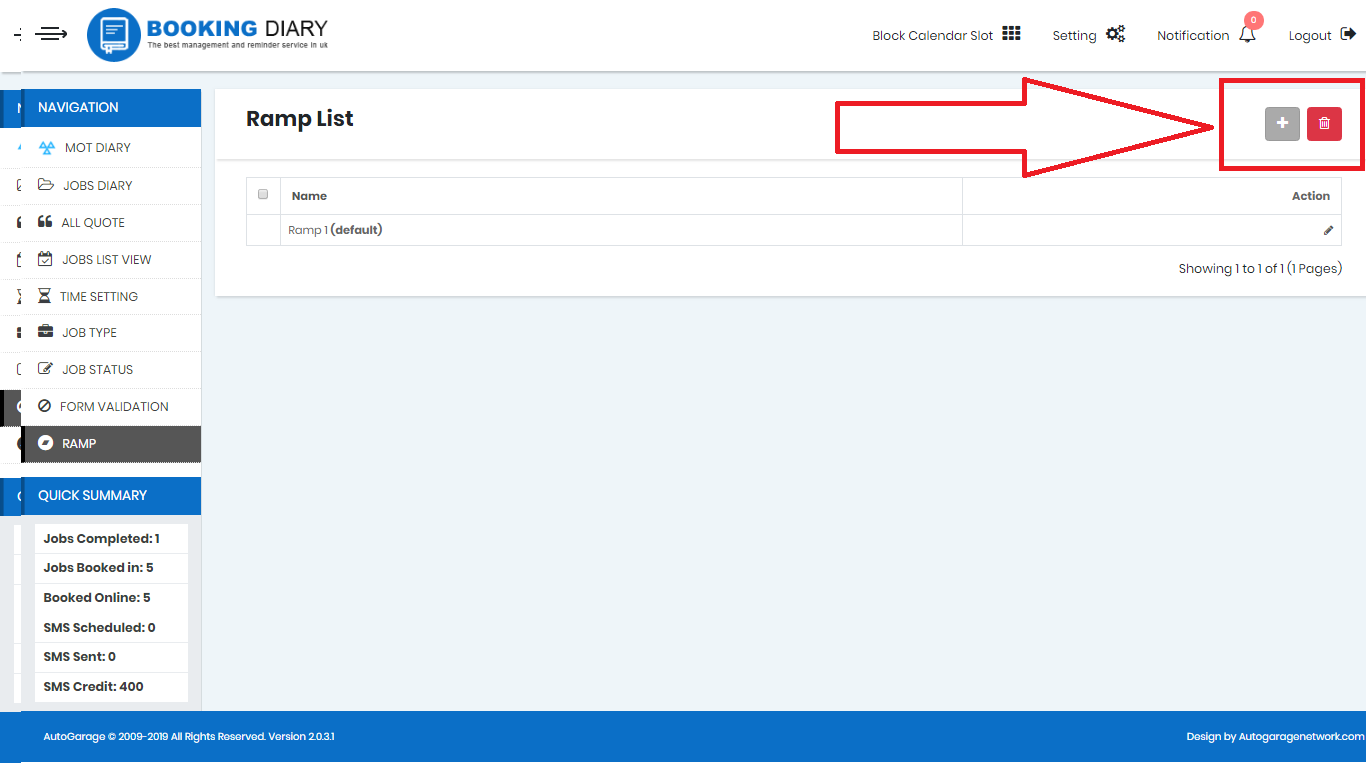
To do this
- Click on the add button.
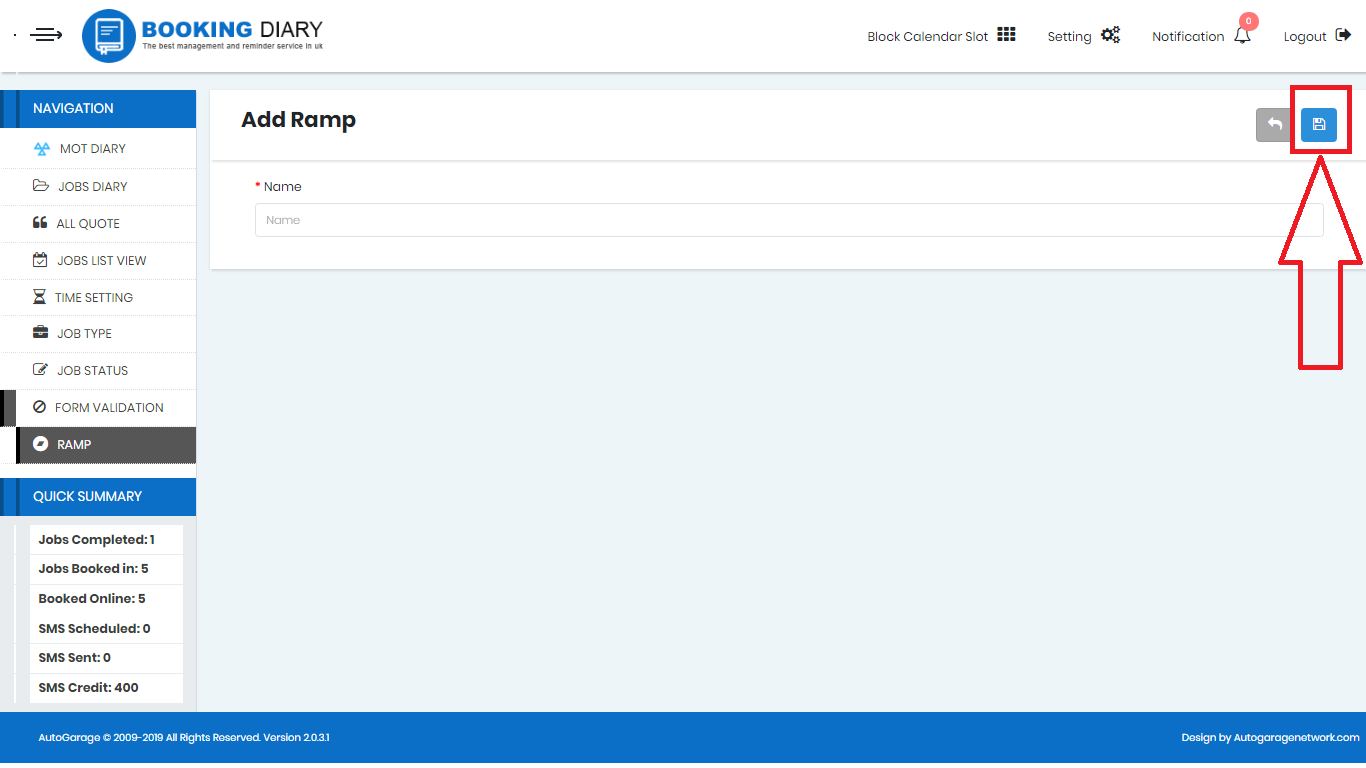
- Type in the name.
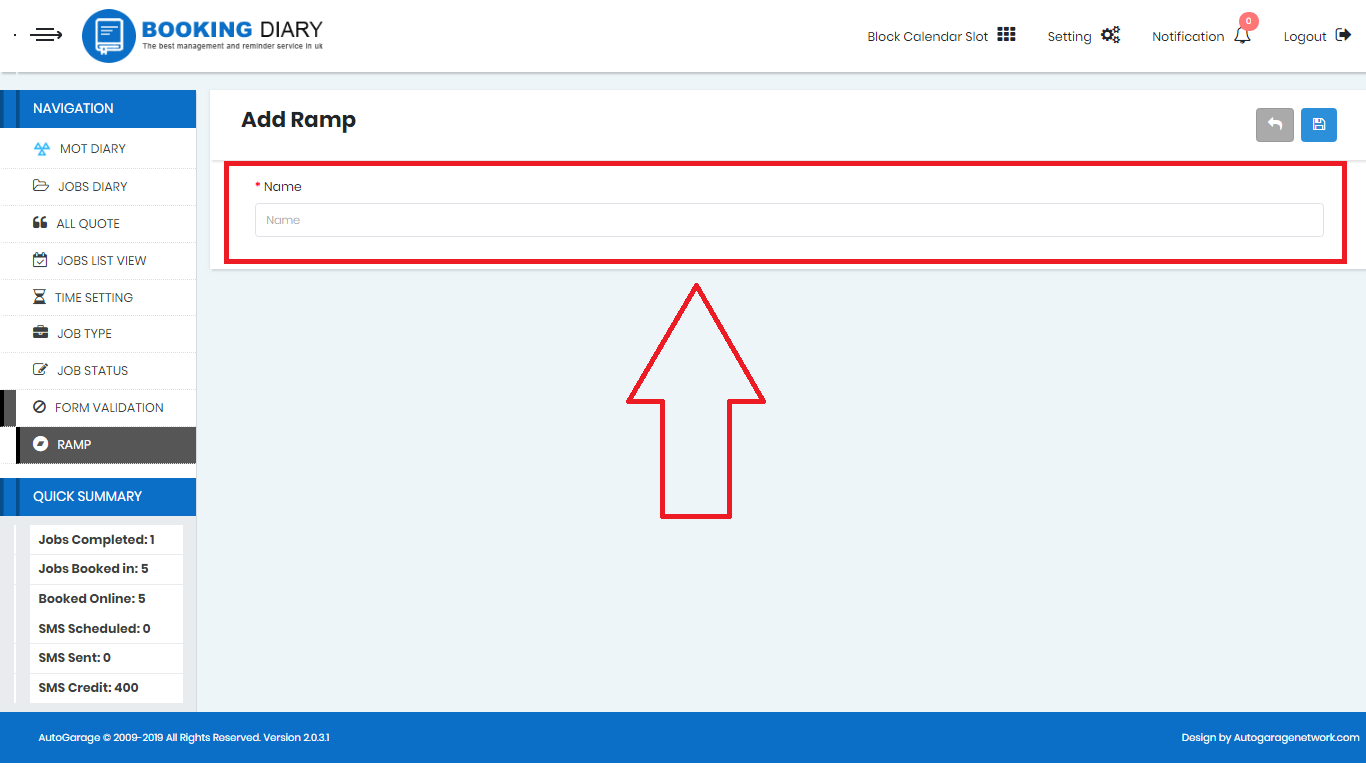
- Click on save.
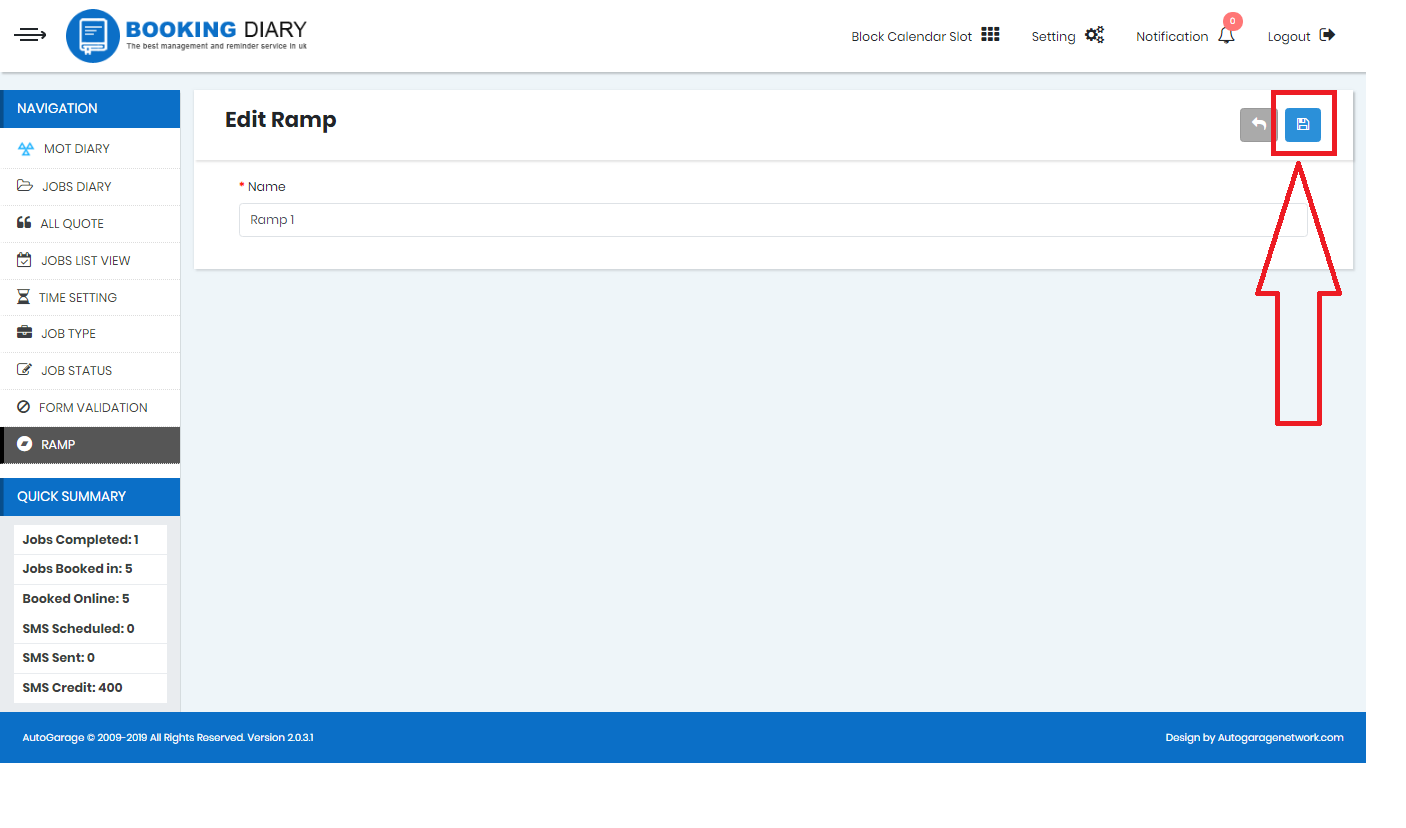
To edit the ramp:
- Click on edit button provided in the action column.
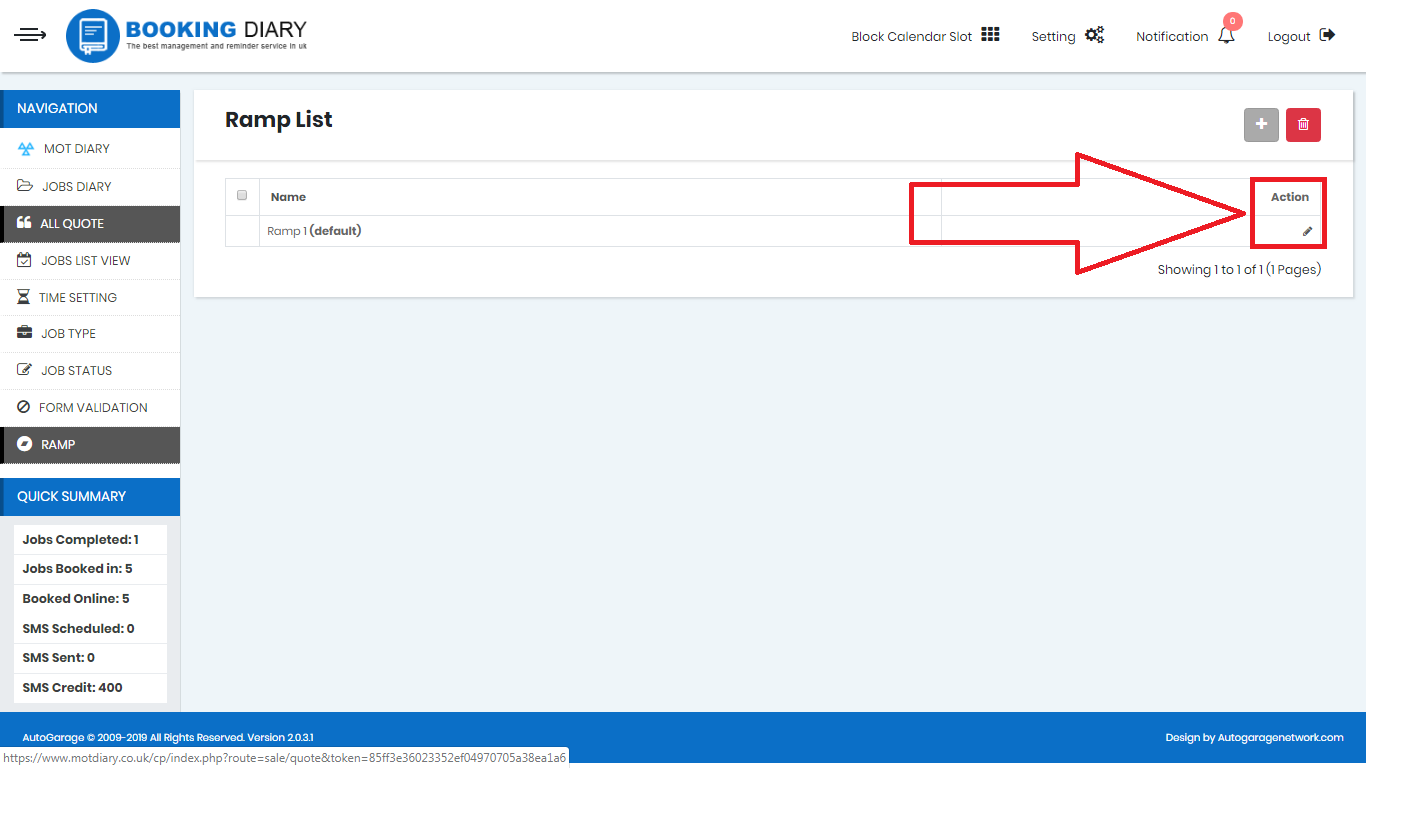
- Change the name.
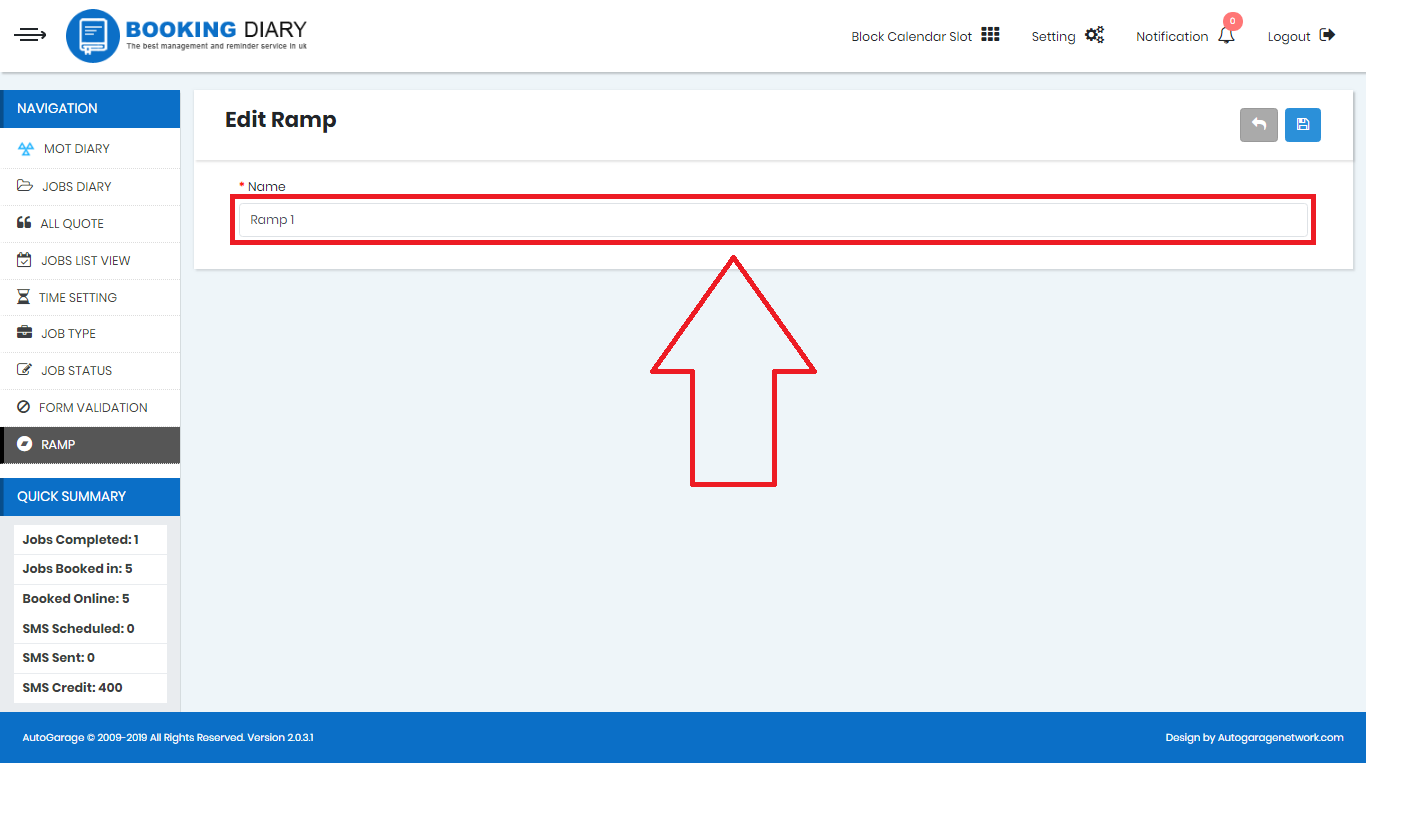
- Click on save.
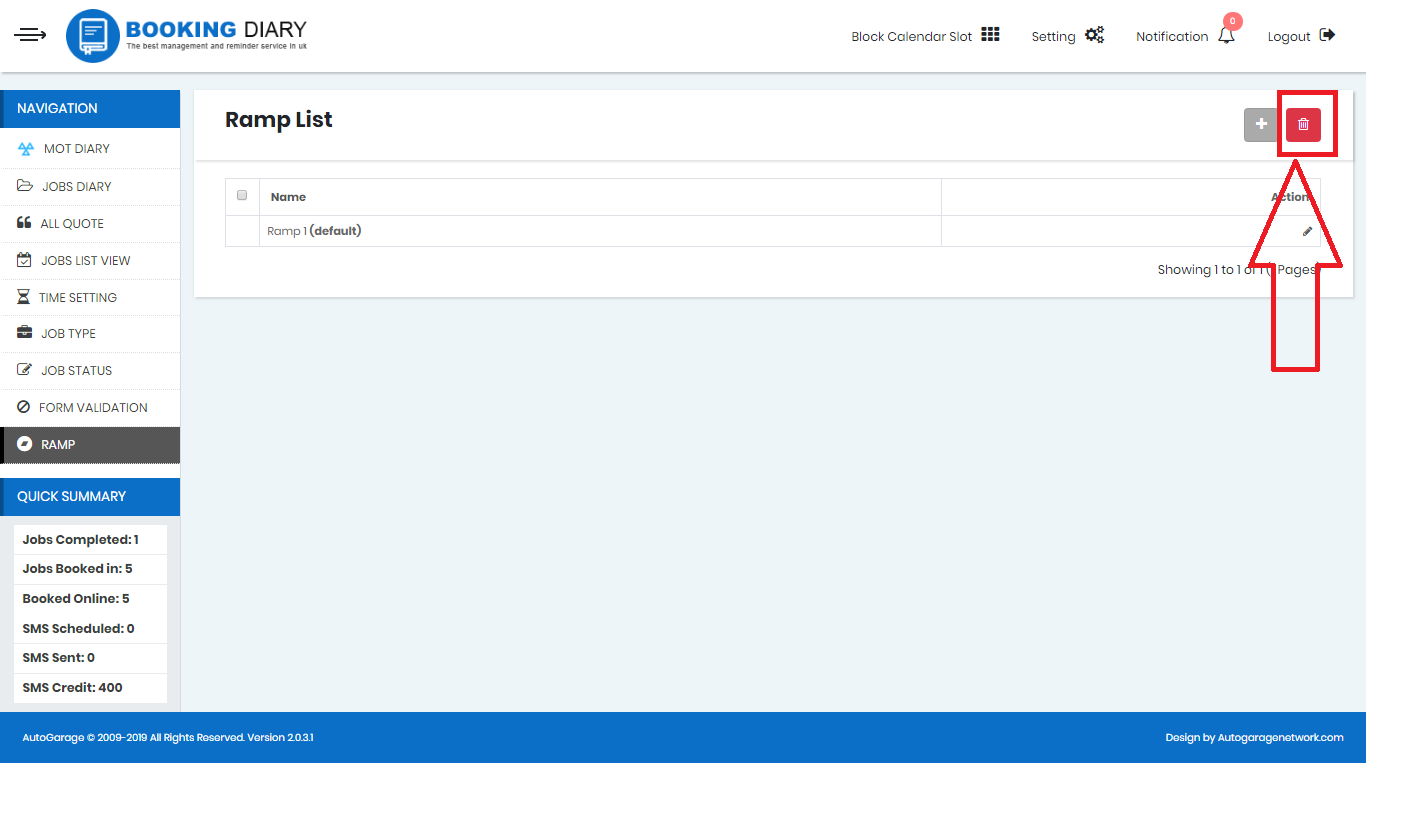
To delete:
- Select the ramp.
- Click on delete Button.
Thank you for reading this Article.